
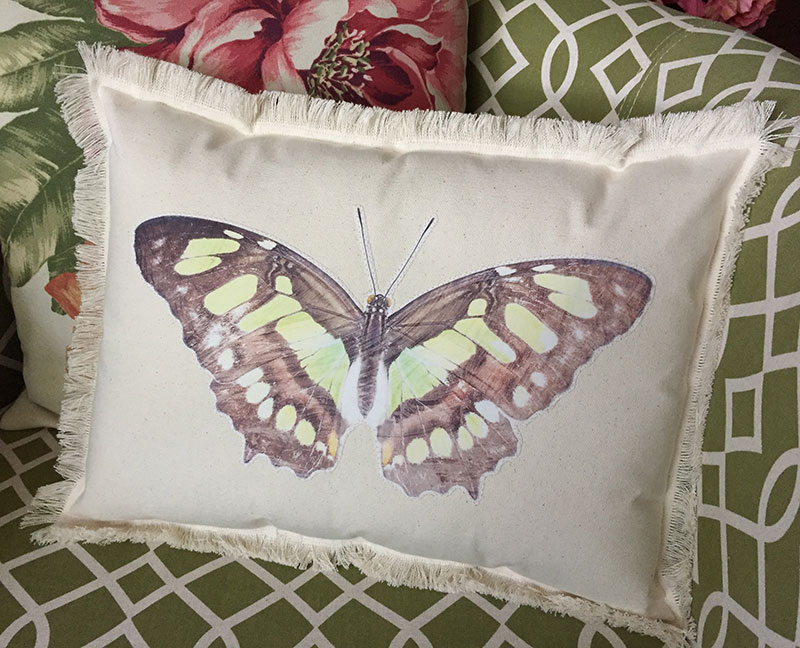
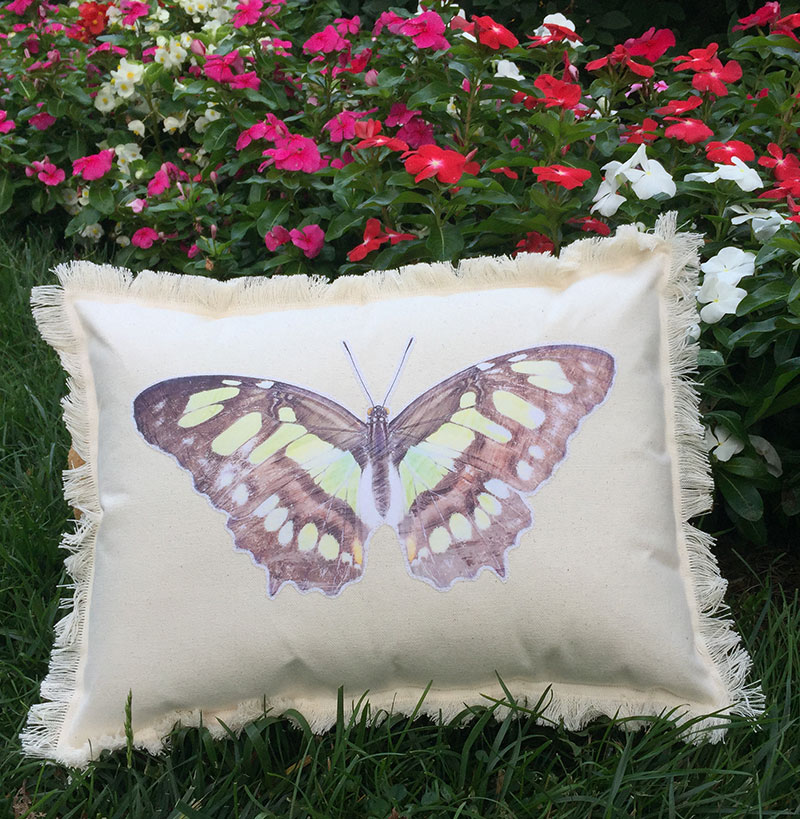
Fringed Butterfly Pillow Pattern with Free Printable!
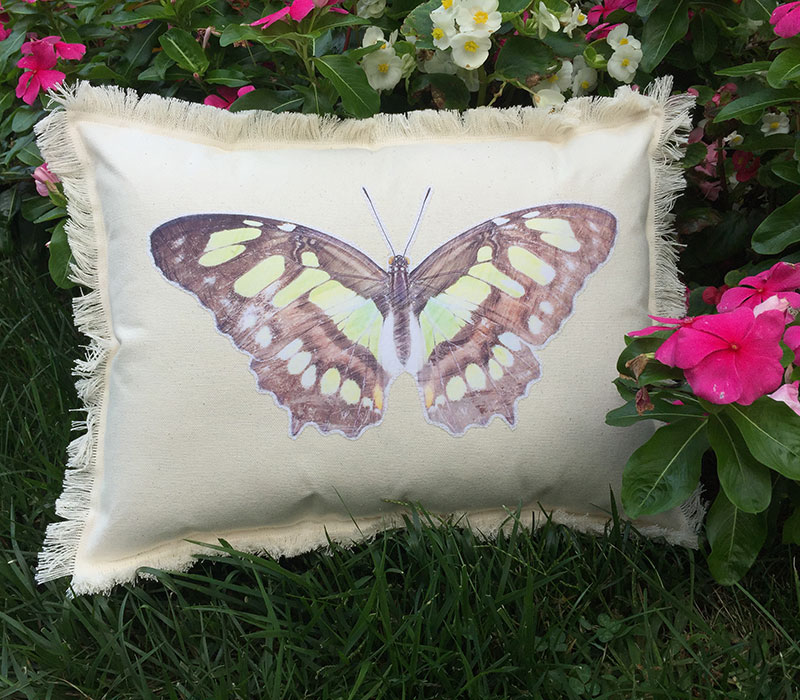
This is a fun little pillow to celebrate the hot days of summer, with a Malachite butterfly design printable, and a base of fringed duck canvas.
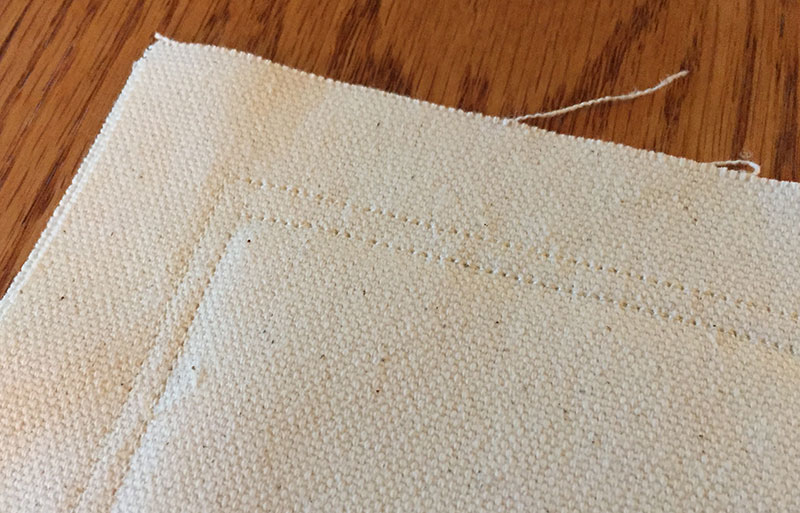
Duck canvas fabric is a fun material to use because of it’s durability and a great base for colorful fabric pairings. And because of its linen roots, it’s also great for creating fringe. The weave is loose enough, that it’s fairly easy to pull the thread by hand and make an easy fun effect.
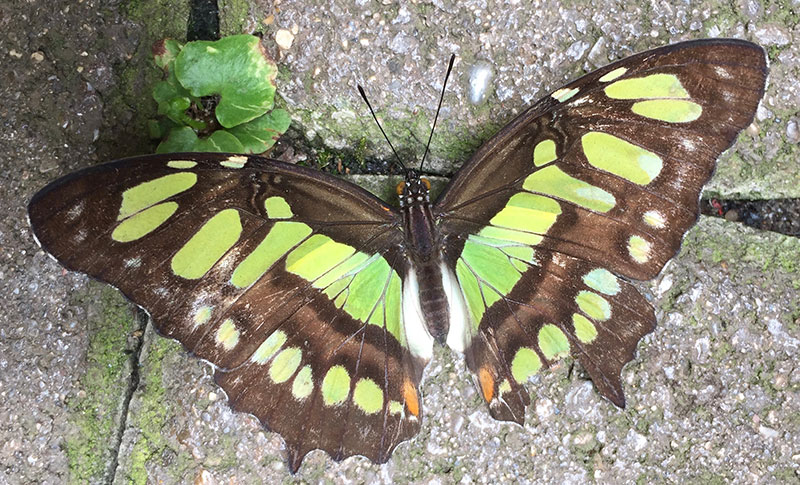
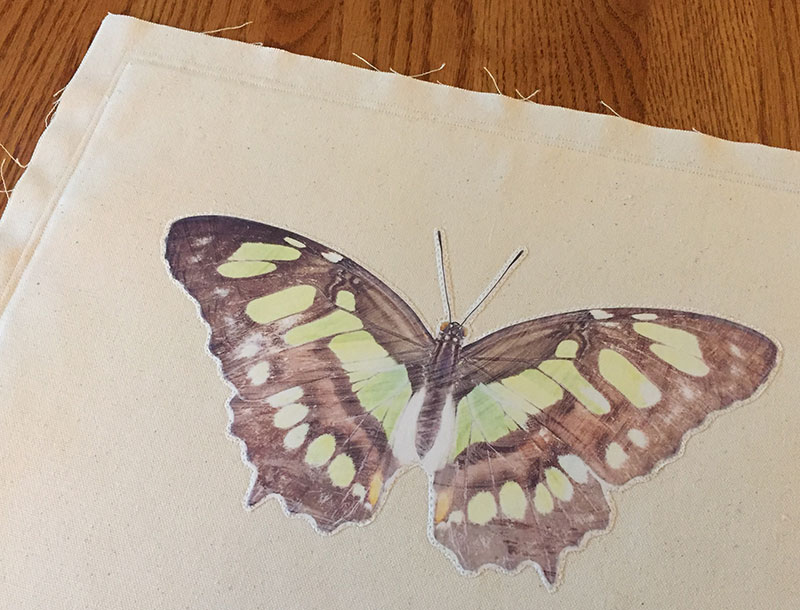
For this Butterfly Pillow Pattern, I started with one of my photos from a trip to the Franklin Park Conservatory butterfly exhibit. I love this photo of a Malachite butterfly with its pretty chartreuse markings.
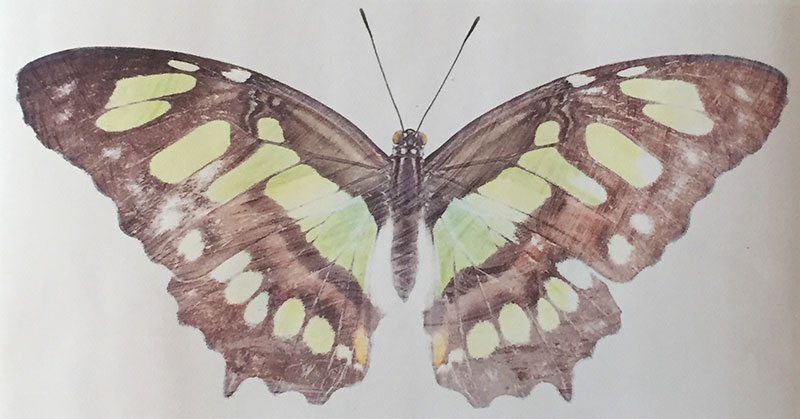
I did some Photoshop magic to it by creating an outlined image of the Malachite butterfly and adding some brush strokes texture. I love how it has a faded, weathered look that I think will look great on the canvas fabric.
For this pillow, you will need the following supplies:
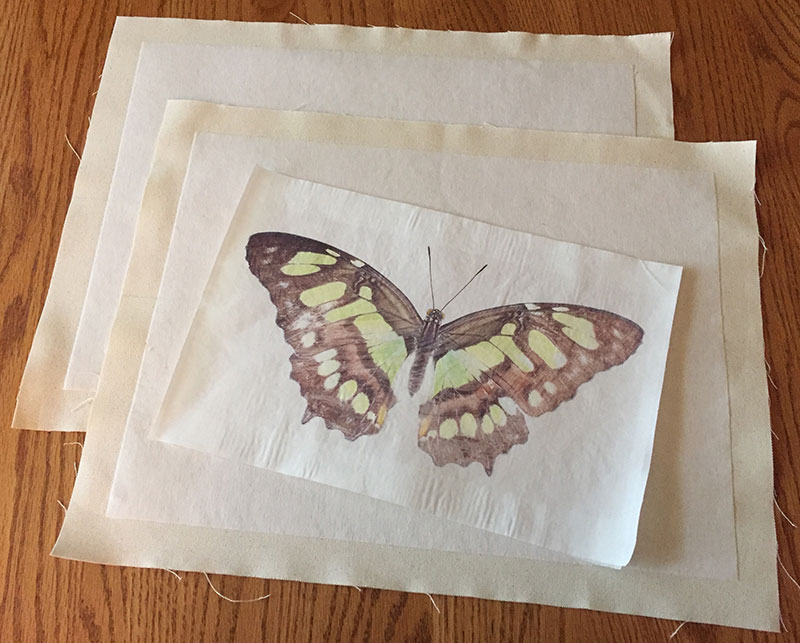
2 18 x 14 inch pieces of duck canvas
2 15 3/4 x 11 3/4 inch pieces of fusible craft weight interfacing
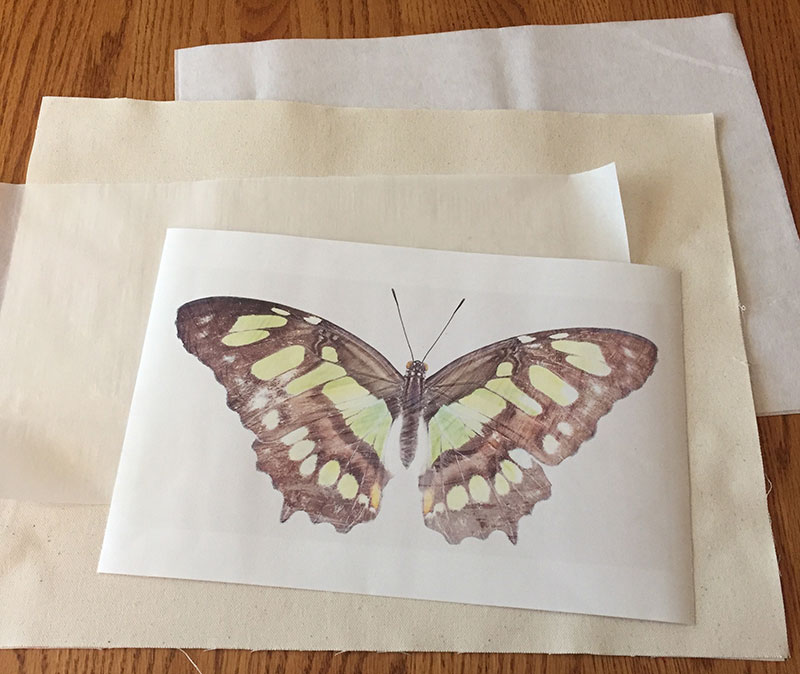
1 8 1/2 x 13 inch piece of paper backed fusible web (such as Wonder Under)
1 8 1/2 x 13 inch piece of printable fabric (such as Crafter’s Image Photo Fabric in cotton poplin)
1 16 x 12 inch pillow form
(Note: I bought the roll of printable fabric that comes in a 8 ½ x 100 inch roll, and then cut a piece for this project at 13 inches long. You can specify a custom paper size on most printers, and that enables you to print a longer image than the standard letter size. If you are not comfortable adjusting the paper size, this pattern can also work by printing a smaller image and printing on an 8 ½ x 11 sheet of the printable fabric.)
Begin by cutting out all the pieces to size. For the duck canvas, make sure to align the weave of the fabric as straight as possible for your cutting. This will help with easier fringing later.
Download the Malachite Butterfly printable (or smaller letter size printable) and print onto the printable fabric. The package has instructions, but it is fairly easy to cut and load into your home inkjet printer. I always print a test image first on regular paper to make sure I have my settings correct.
Iron the fusible interfacing to the duck canvas, leaving 1 1/8 inch space around all the edges.
Iron the fusible web to the butterfly printable. (Take off the paper backing on the printable, and cut the fusible web so it is slightly smaller than the printable to avoid getting any adhesive onto your iron.)
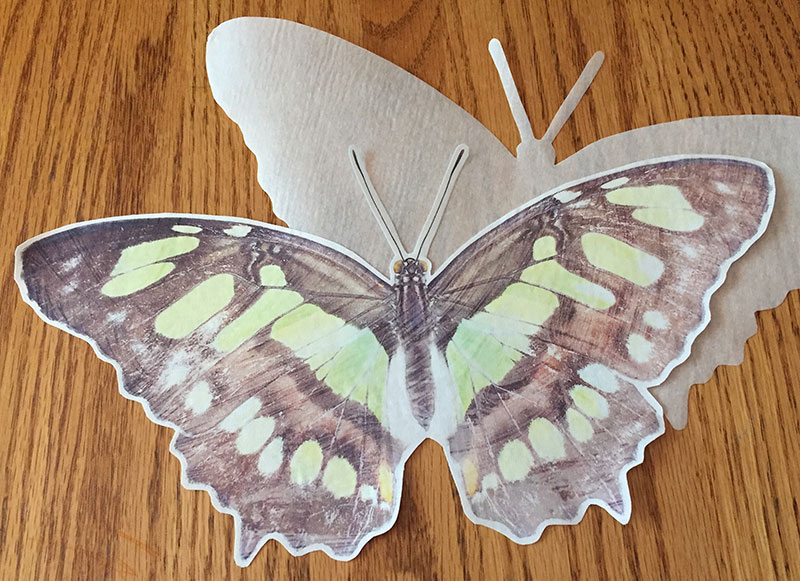
Cut out the butterfly. (I chose to leave a little white border showing for a space for the stitching, but you can cut it exactly on the edge if you prefer.)
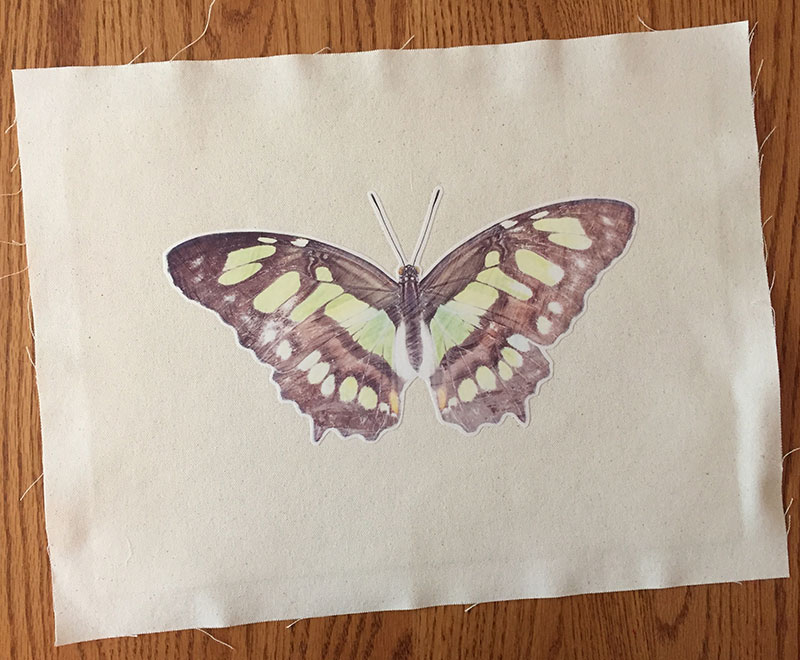
Peel off the fusible web backing and iron the butterfly to the center of the front of the pillow. (I placed the image slightly higher than center.)
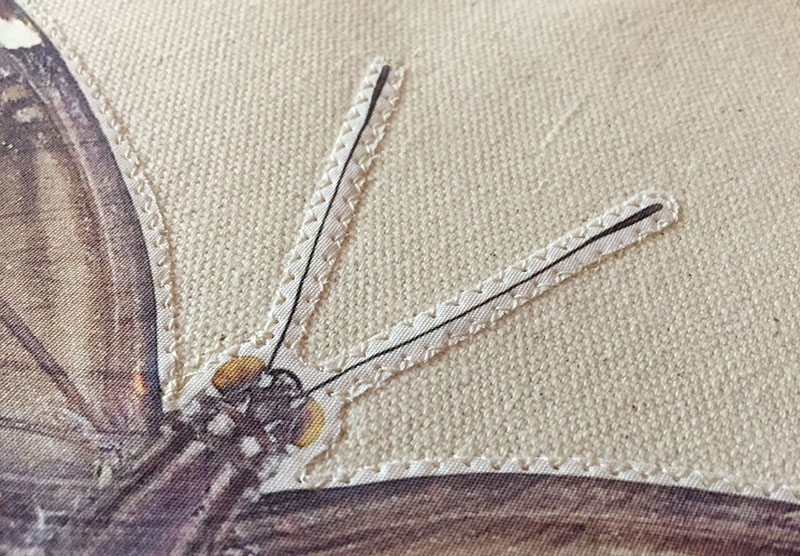
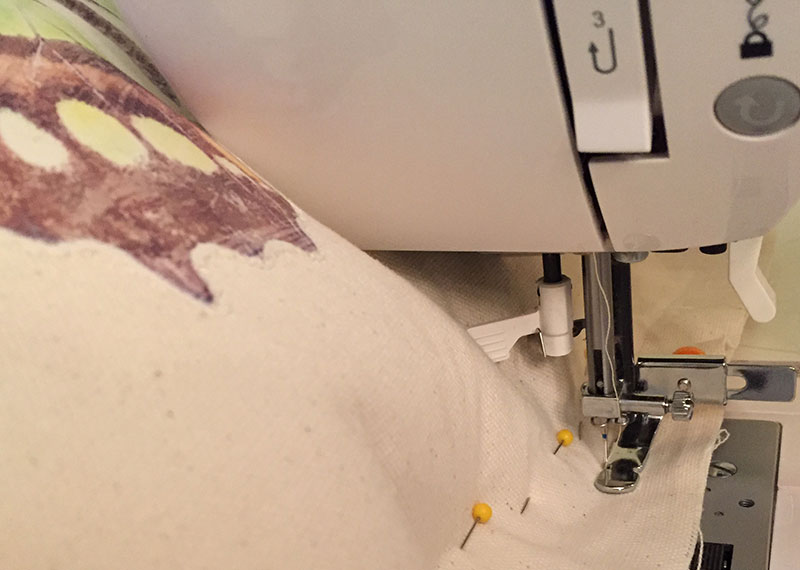
Stitch around the butterfly edges to secure. (I used a small, loose zig zag stitch.)
Sew the front and back of the pillow wrong sides together, using a straight stitch and a 1 inch seam, leaving an opening at the bottom edge. (The interfacing should be slightly inside, away from the stitching.)
Sew around the edges again, a little less than ¼ inch away from the first stitching.

Insert the pillow and pin the bottom edge closed, pushing the pillow away as much as possible.
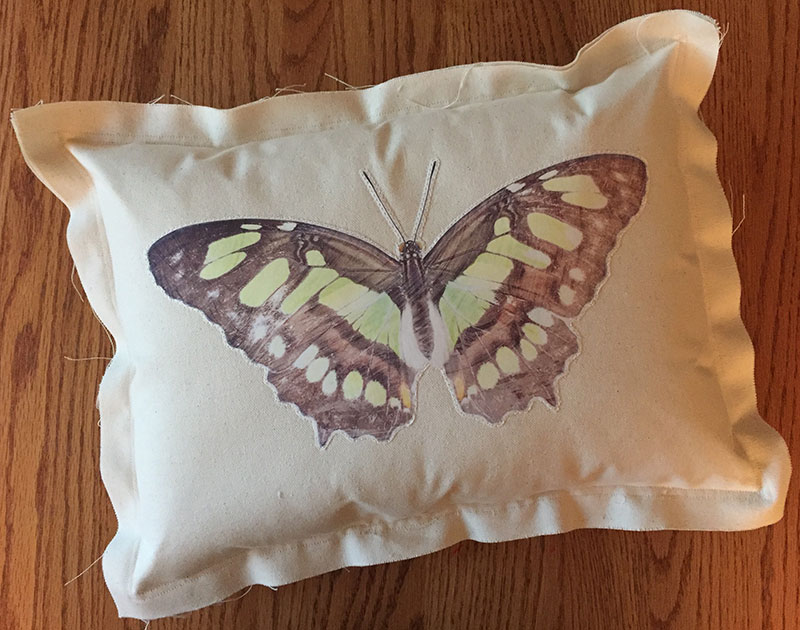
Sew the opening closed, lining up with the two rows of stitches. (This is a little tricky with the pillow rubbing into the machine, but it does work!)
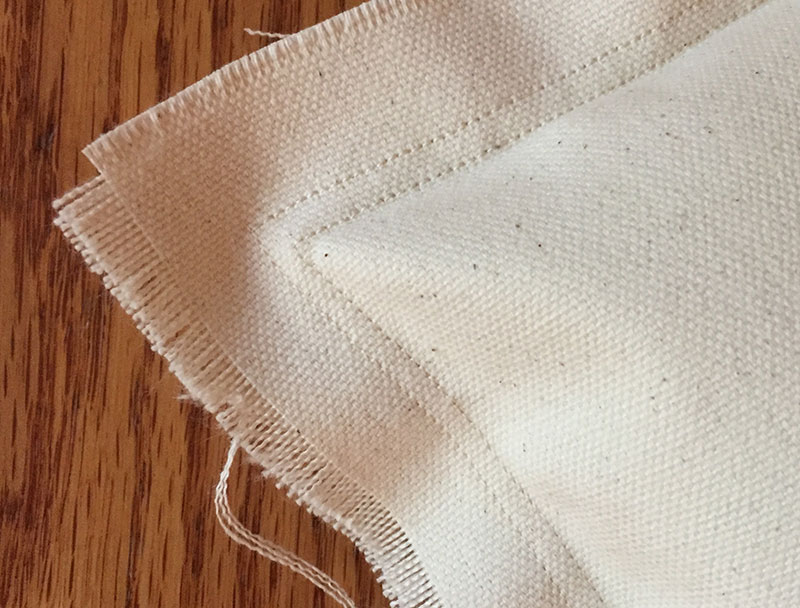
Carefully pull the fringe threads out, one at a time, until you reach the stitches. If the weave is a little crooked, lightly pull the thread until it stops somewhere in the middle, then trim it to the same length as the rest of the fringe.
That’s how to create this crafty fringe pillow! I hope you give it a try.
For a variation, you can add anything to the front of the pillow like the shape of your home state or a row of fabric squares in fun bright colors. Just make sure to iron on the fusible web before cutting out your shapes so the adhesive is all the way to the edge of your shape.
You can also add more stitching either by machine or by hand to add to the weathered effect.
Let me know if you try my pattern and how it turned out. Enjoy! 🙂
Leave A Comment