
Butterfly Specimen Wall Hanging Tutorial Using Dollar Tree Items
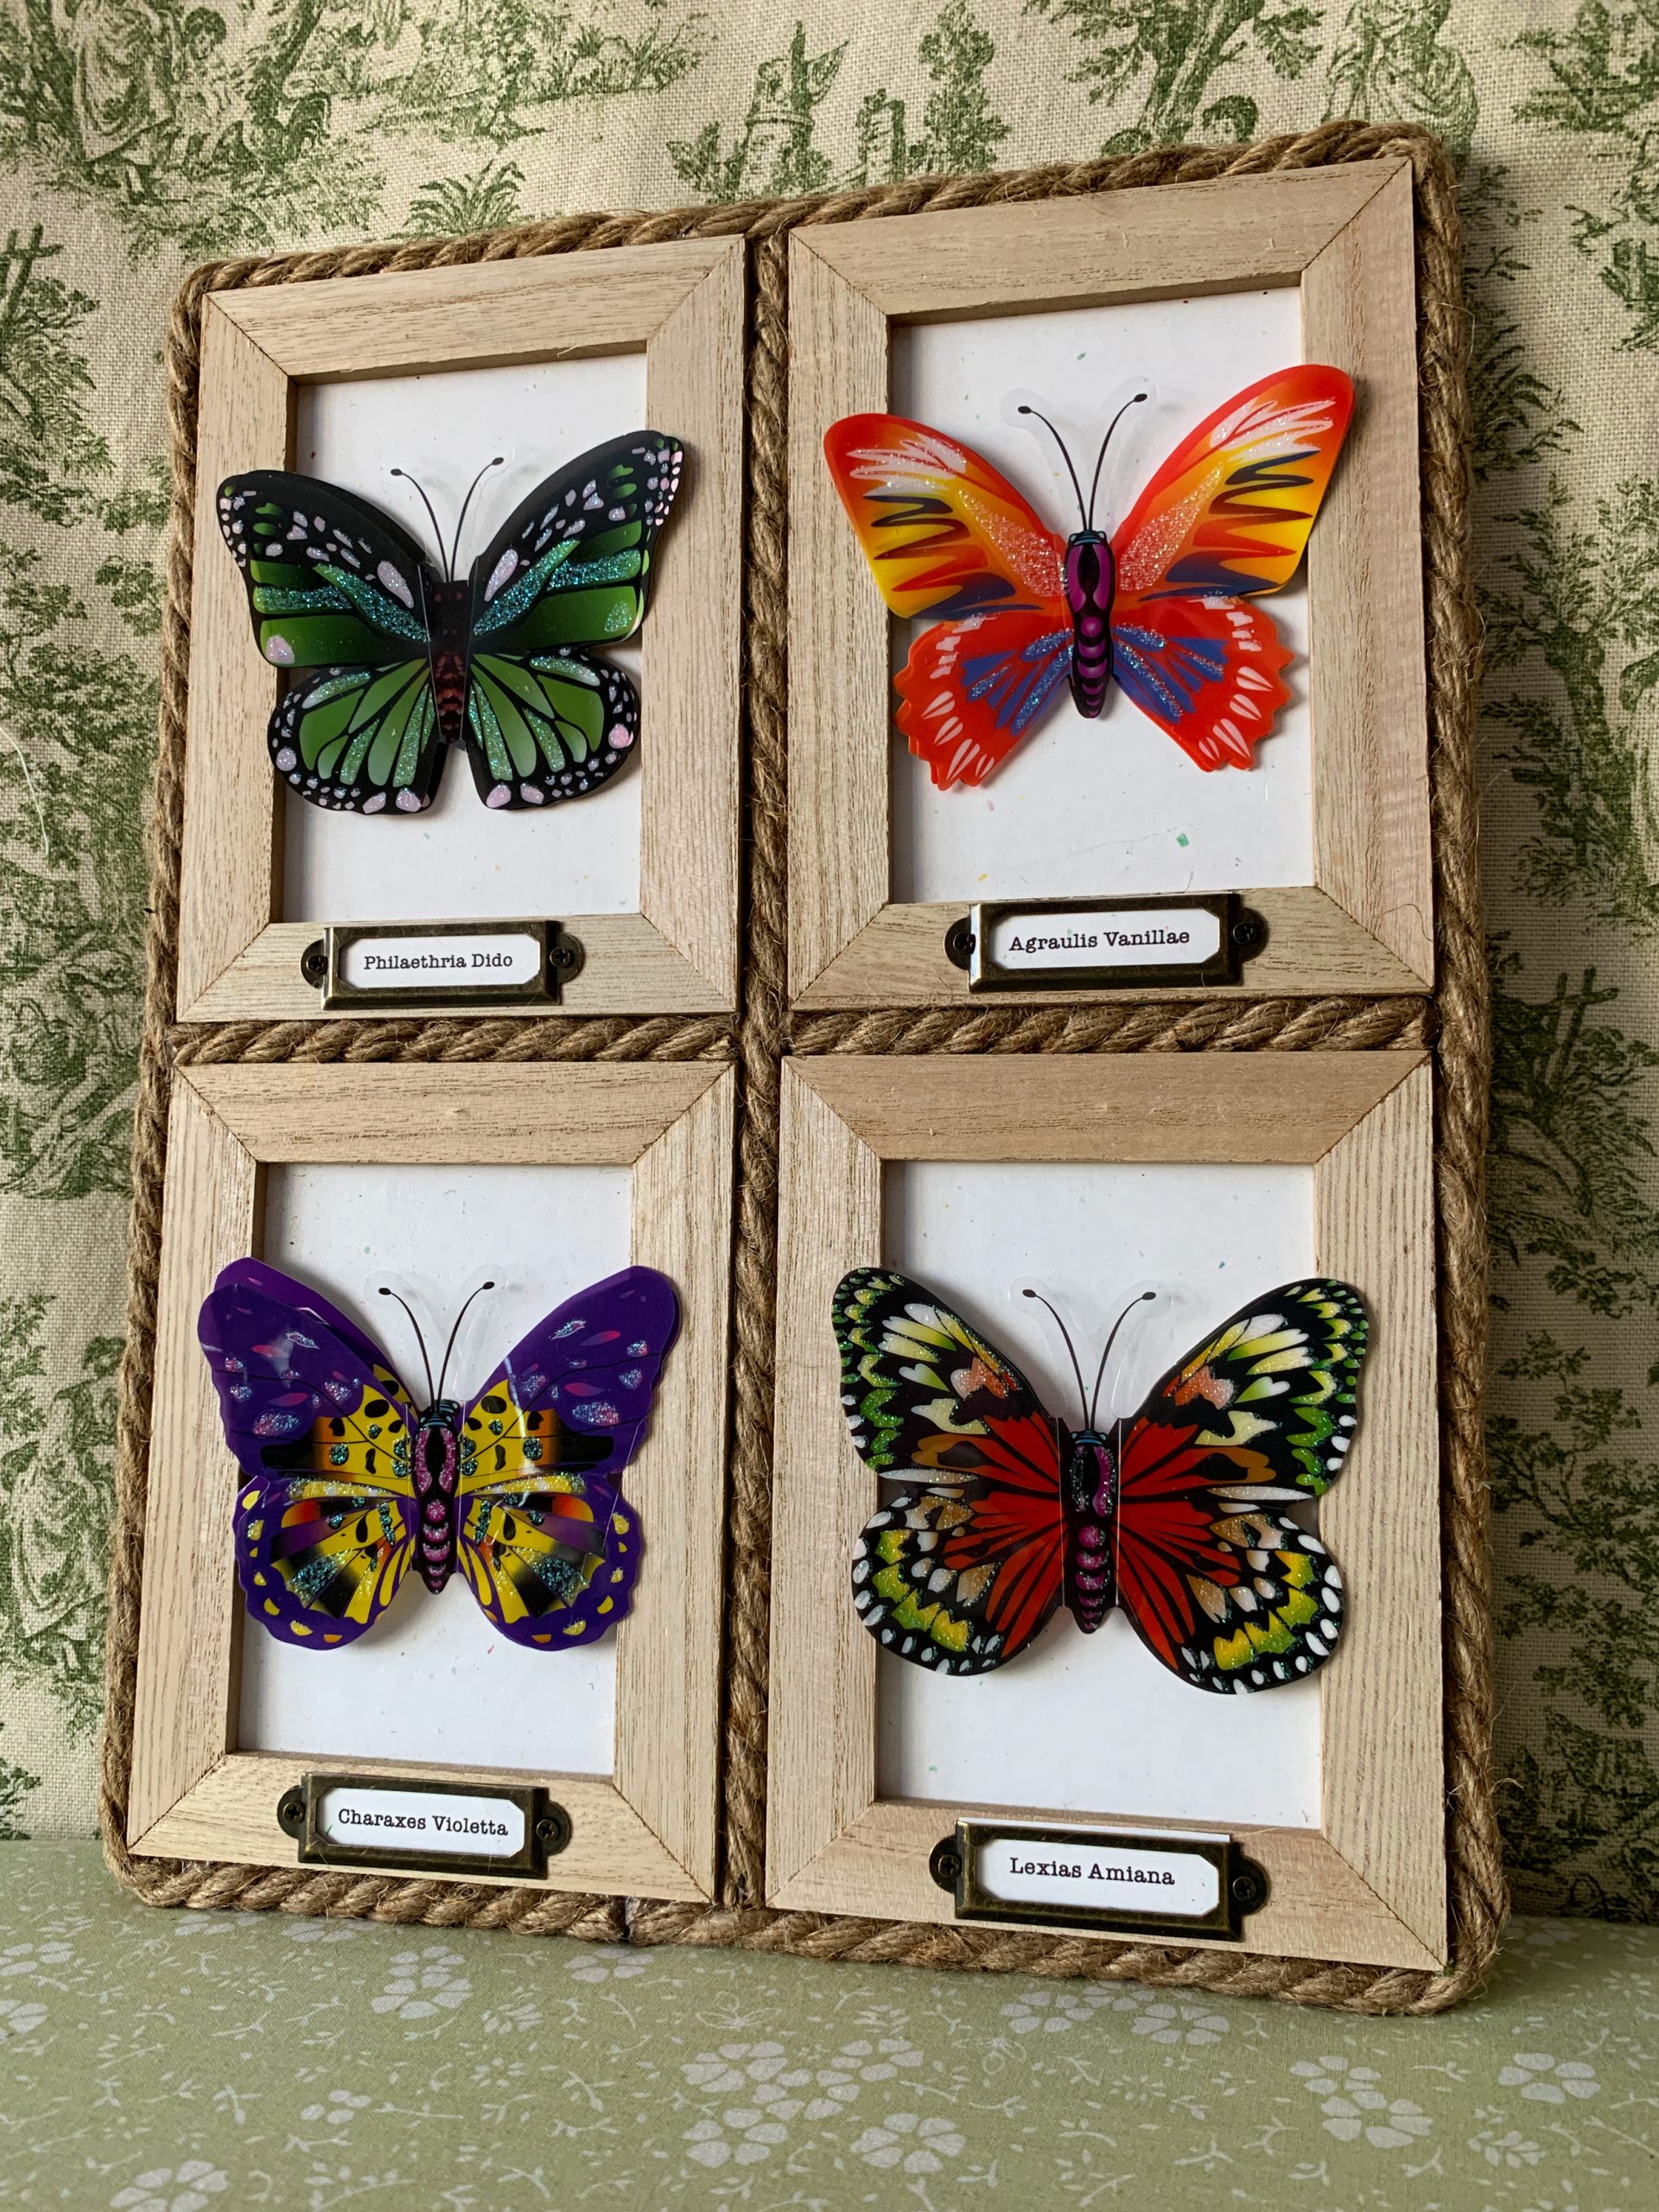
I saw these cute frames at Dollar Tree and they reminded me of something from a vintage science lab or nature exhibit. And then I remembered those beautiful large butterfly stickers in the next aisle and voila – a match made in crafty heaven – a Butterfly Specimen Wall Hanging.
Supplies Needed:
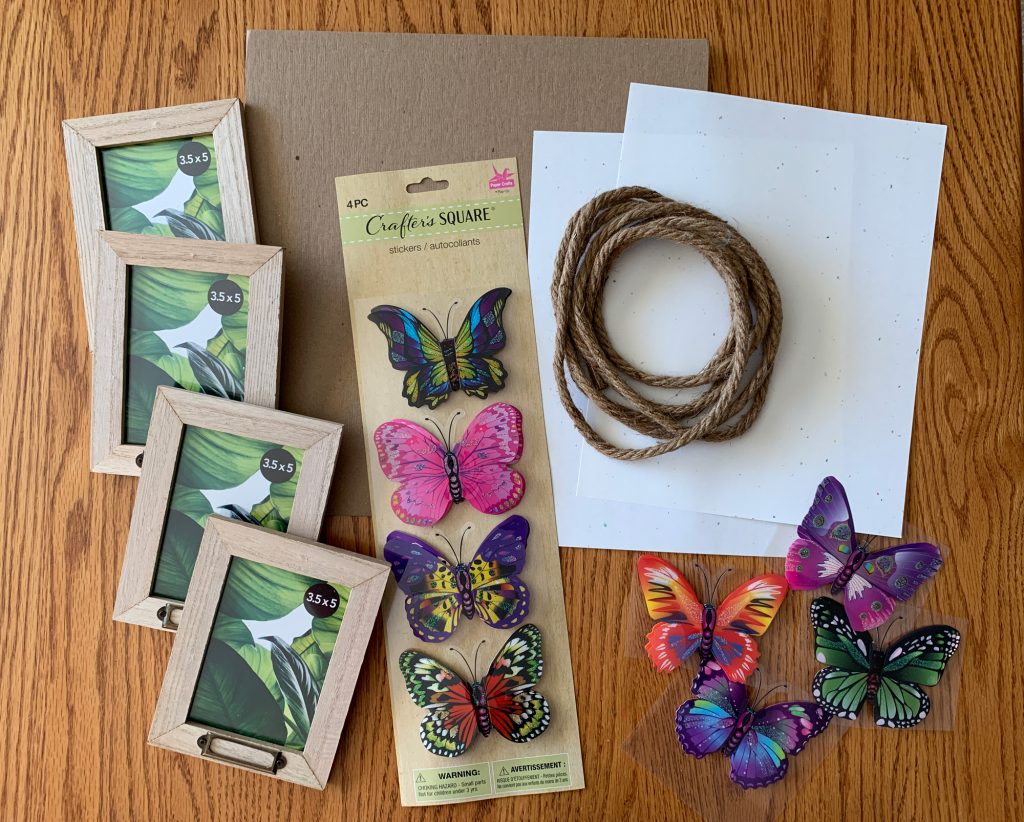
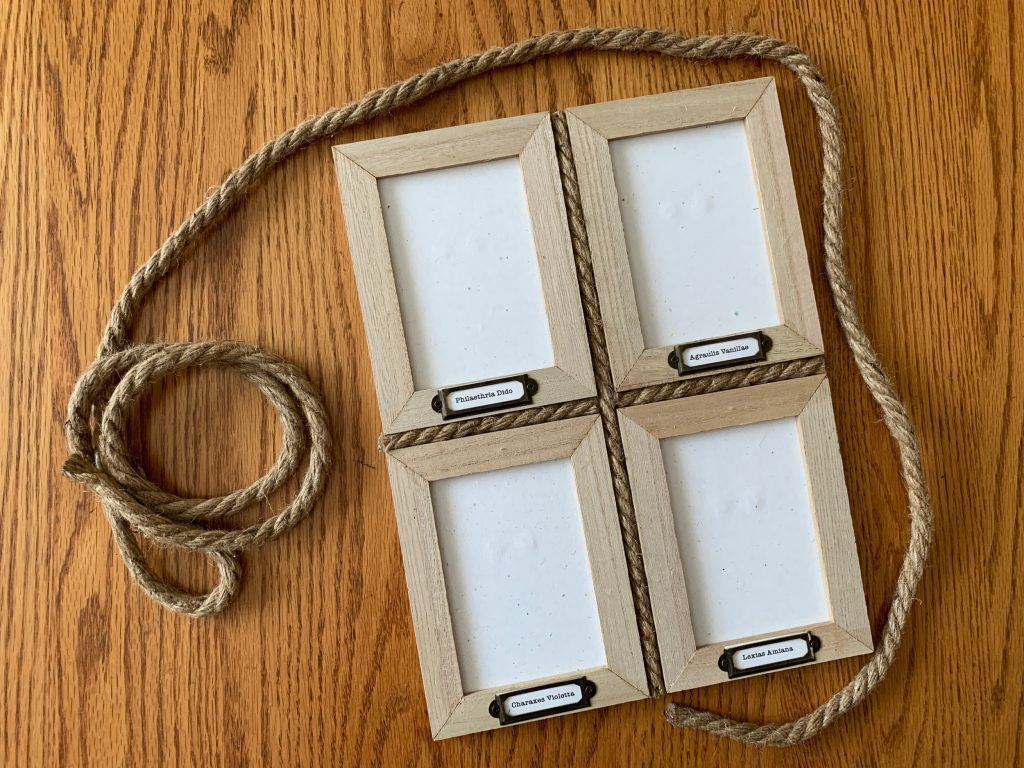
4 Dollar Tree wooden frames with metal label brackets
1 (or 2) Dollar Tree large butterfly stickers sets
1 Dollar Tree decorative nautical rope in natural (the larger 1/2 inch diameter kind)
2 sturdy pieces of cardboard (large backing piece needs to be about 10 x 13 inches)
2 sheets of ivory or handmade paper
Adhesives: glue stick, tacky glue, hot glue
pencil, scissors, flat head screwdriver
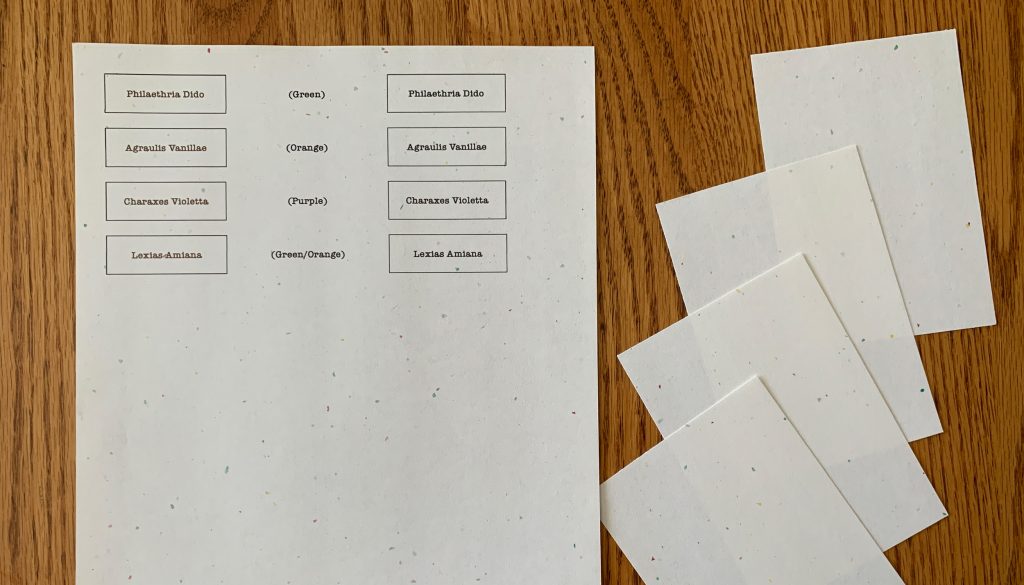
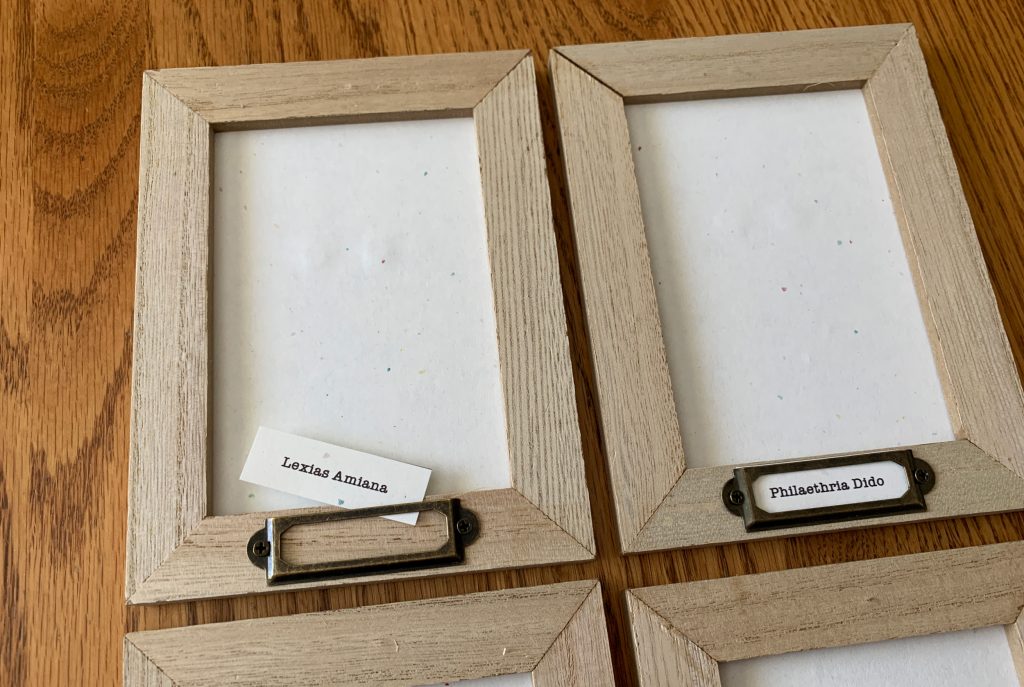
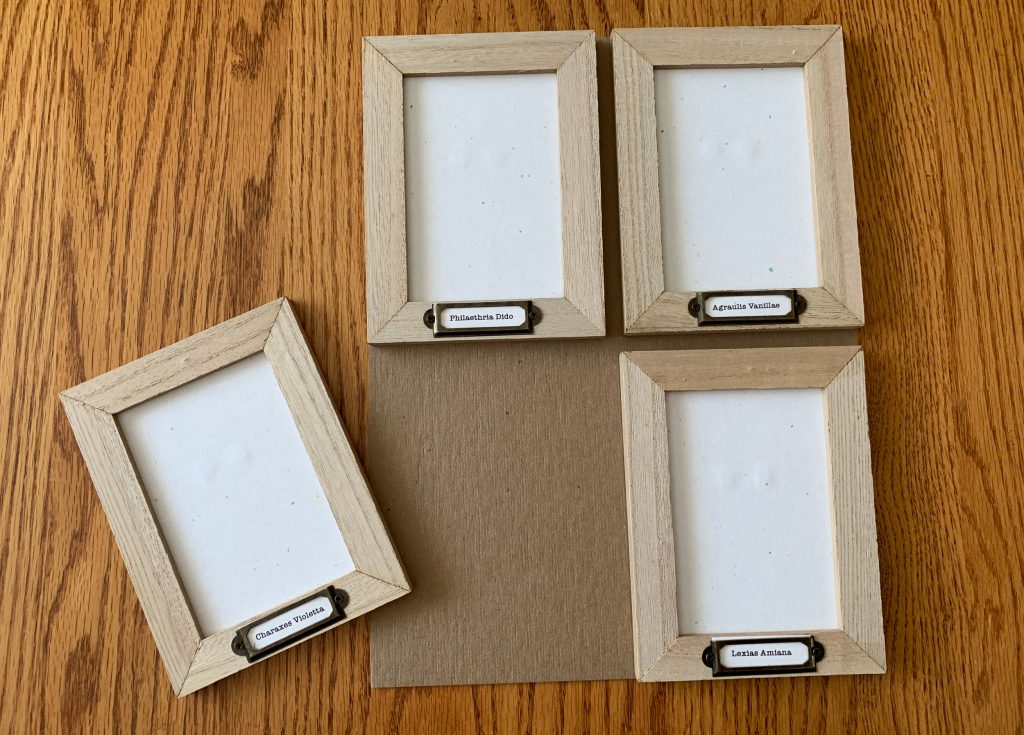
Using this free pdf printable (print at 100%), or your own handwriting or print out, create four scientific names for your butterflies you choose. I used two from each sticker set, and tried matching scientific names I found online to the look of each butterfly, but it really can be anything Latin sounding. I chose a typewriter font to create a vintage feel. Also with the same paper or other handmade paper, cut four 3.5 x 5 inch pieces.
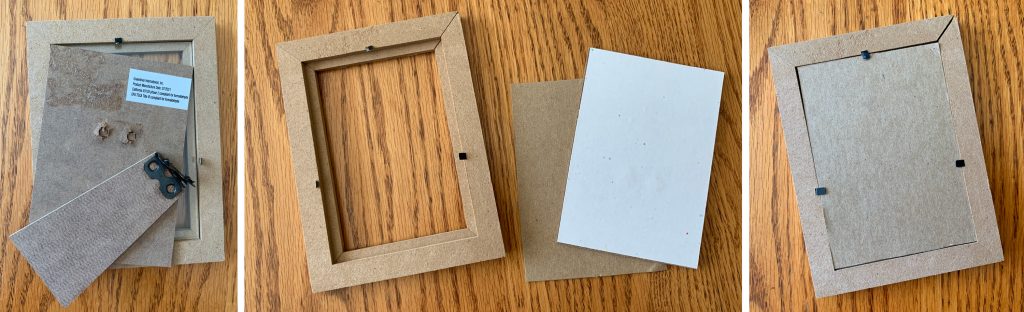
With your screwdriver, pull up the metal pieces holding in the frame backing, and pry off the stand on each frame. Remove the glass and discard. Glue the handmade paper to the frame backing. Reassemble the frame, adding an extra 3.5 x 5 inch cardboard on the back to replace the thickness of the glass.
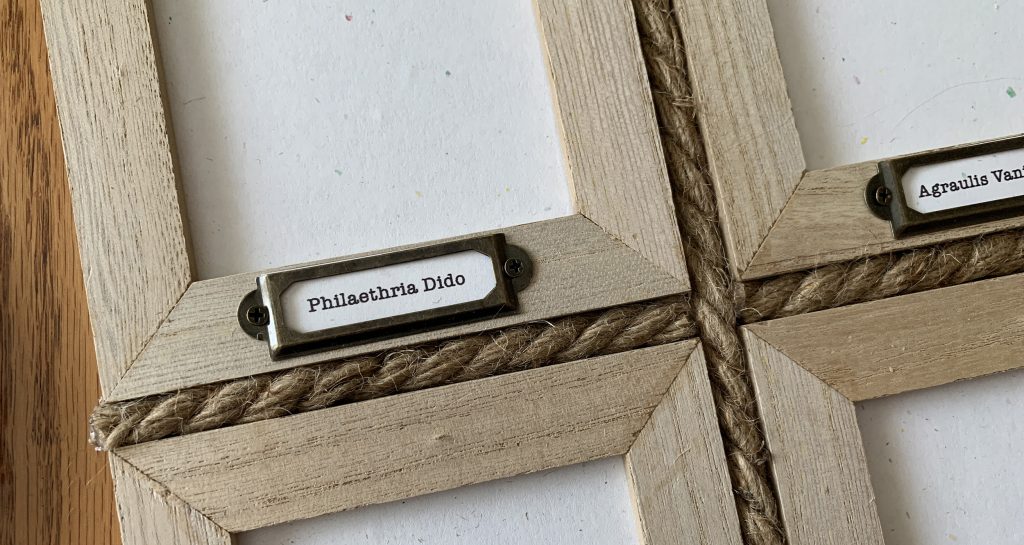
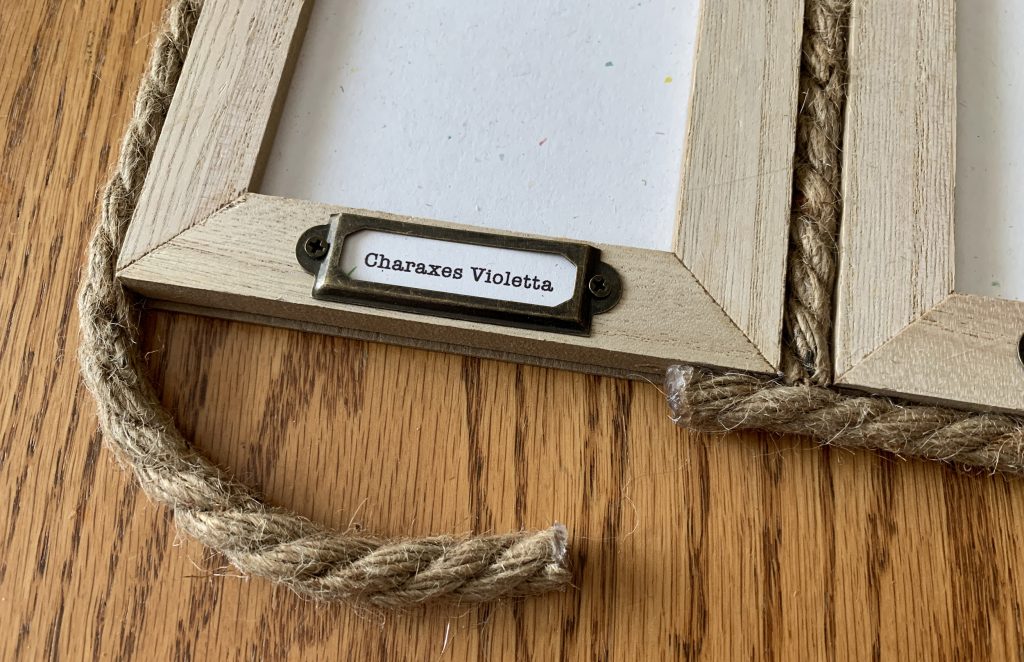
Cut out the scientific name labels and add into the metal brackets.
Cut the piece of sturdy cardboard to fit the frames, leaving space for the rope in between each. (Alternatively, you can omit the rope and the frames can be aligned with no space in between.)
To add the rope, measure and cut a piece to go between the upper and lower right frames. Be sure to hold the rope tightly after cutting and dab hot glue at the end to keep it from unraveling. Glue the top right frame to the cardboard with hot glue. Then glue the short piece of rope, pressing it snuggly to the frame and keeping it twisted. Next glue bottom right frame, pressing it snuggly to the rope piece so there are no gaps.
Repeat the same process for the longer vertical piece next, then the upper left frame, short piece of rope, and lower left frame.
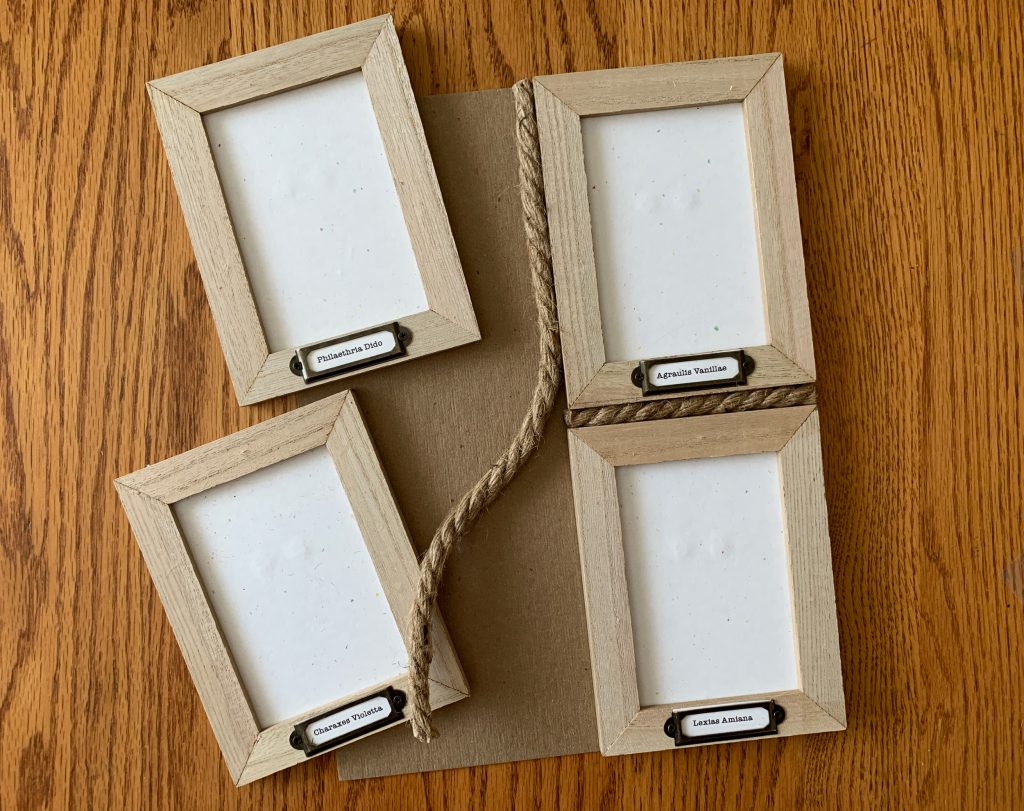
Finally, hot glue the rope around the outside of the entire frame. I started at the bottom and added glue a little at a time, pressing and keeping the rope twisted as I went around. I also had a helper hold the frame upright for easier gluing.
When you reach about three or four inches from the end, carefully measure the length of rope so the ends butt up to each other. Trim and glue. I also glued the ends to each other.
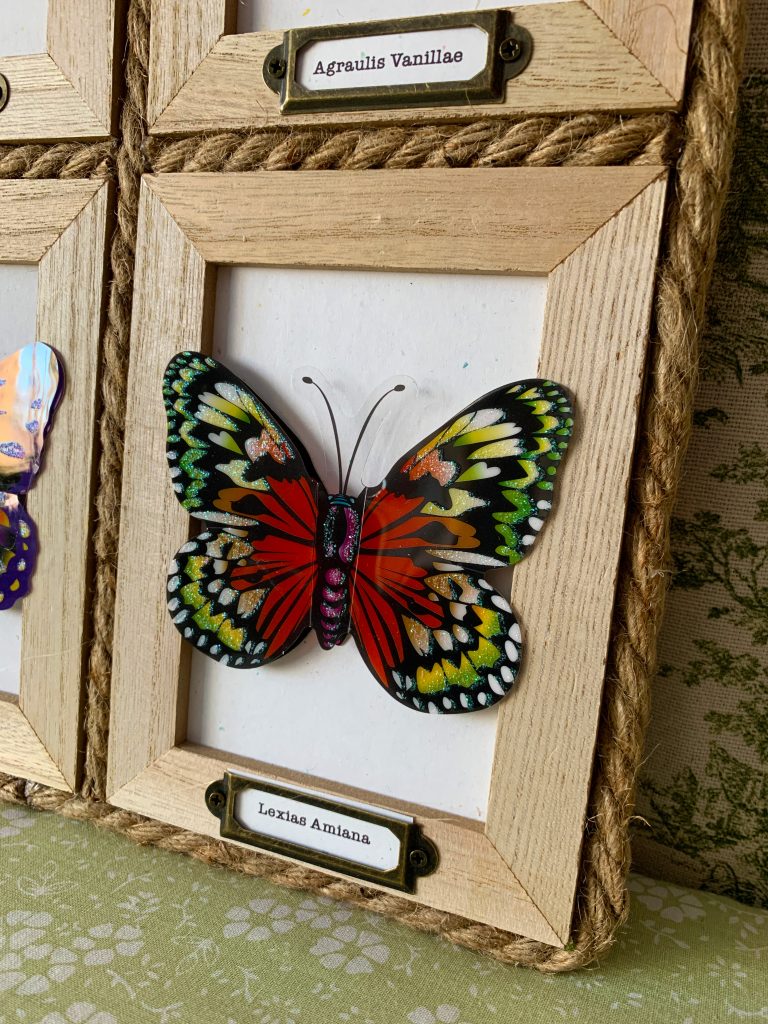
Now the fun part – adding the specimens! Select and position your butterflies for each frame. (Remove the foam adhesive square from the back of each.) These butterflies have two layers, one that is heavy printed paper, and a transparent plastic layer on top. Using the tacky glue on the back, add a small line of glue along the body and little lines about 1/4 inch away on either side of the body. Press in place and hold for about 30 seconds. The wings will stick out of the frame, but that is okay – it adds a nice dimensional effect.
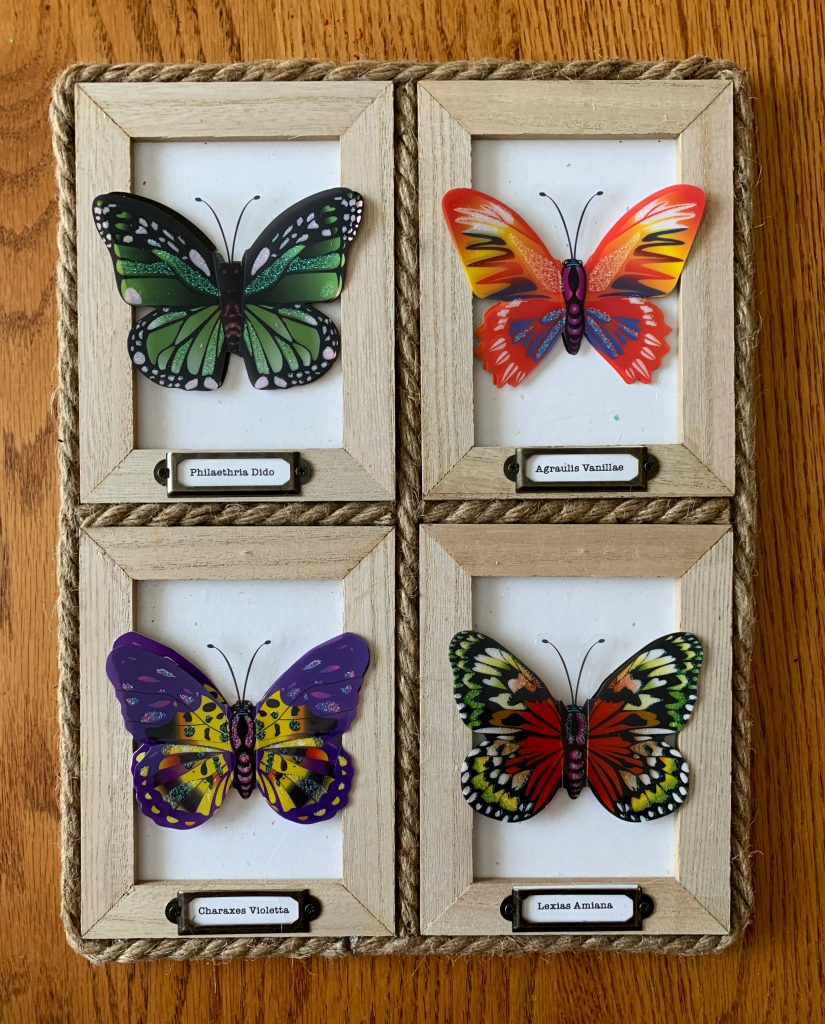
I just love how this project turned out – it has a nice large size, lots of color and texture, and a lovely vintage feel. It reminds me of my Grandpa and his real butterfly specimen display he collected while he was a science teacher in Wisconsin.
Leave A Comment