
Cardmaking with Edge Dies
After a long hiatus, I’m finally back to posting on Craft Picnic, and I’m here to tell you I’ve gone CARD CRAZY! During our stay-at-home spring and summer of 2020, I’ve been crafting away with so many new products and ideas that have given me inspiration and relaxation with all the stress and uncertainty spiraling around in the world. And the bonus is I can send these little gems to friends and family to hopefully brighten their day too.
One of the crafty things I found and love are intricate dies that cut along the edge of the card. You can place them in different ways, and they all create layers to see through to the papers and inks behind. These are all thin metal dies that are used in die cutting machines, either manual or electric, to cut out all the little pieces in one pass. There are tons of edge dies in the market, and I especially like Crafters Companion Edge’able dies.
Here are a few crafty samples I made:
The simplest is to cut along the front right edge of the card.
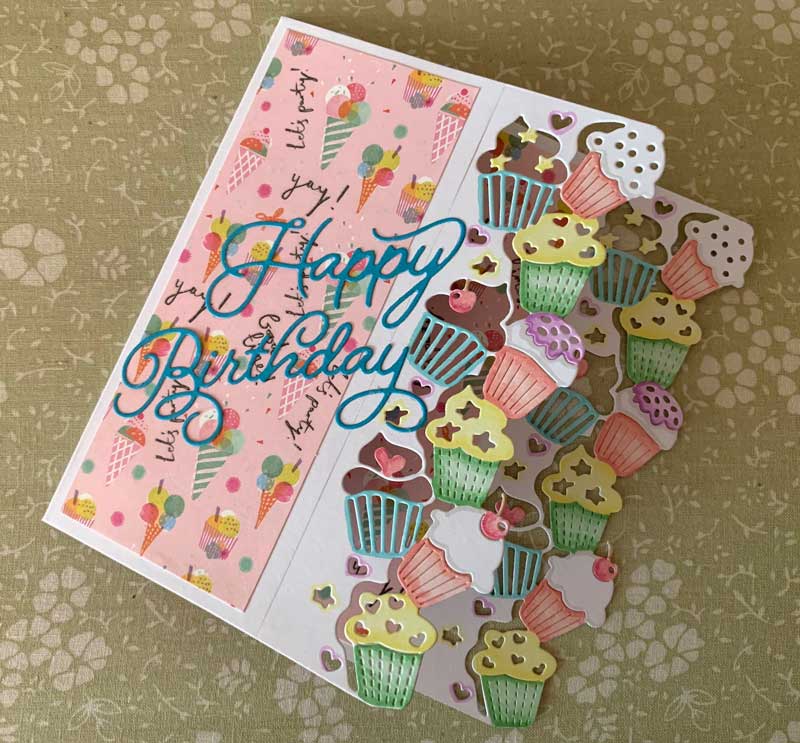
Or try a double die on both right edges – the front one is set back a little so they both can be seen together.
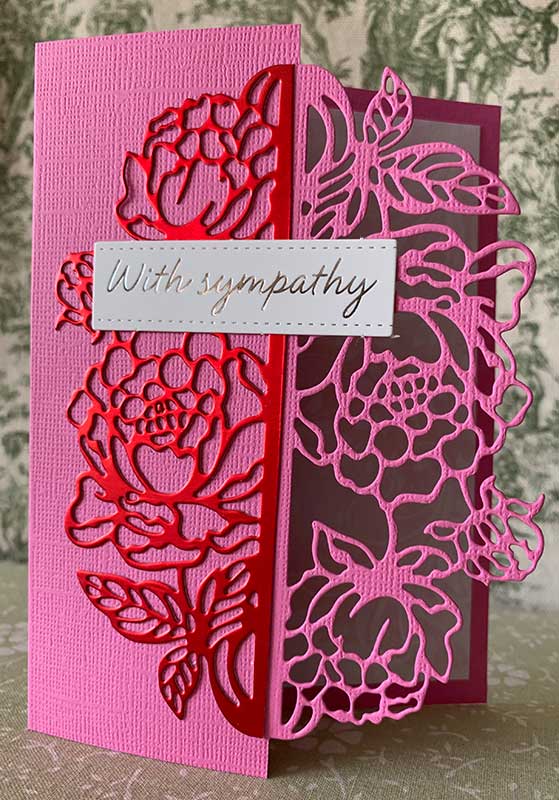
This sample has the die along the front of a fold back card – fold the front of the card exactly in half back toward the fold, then cut both edges. Then layer up papers behind.

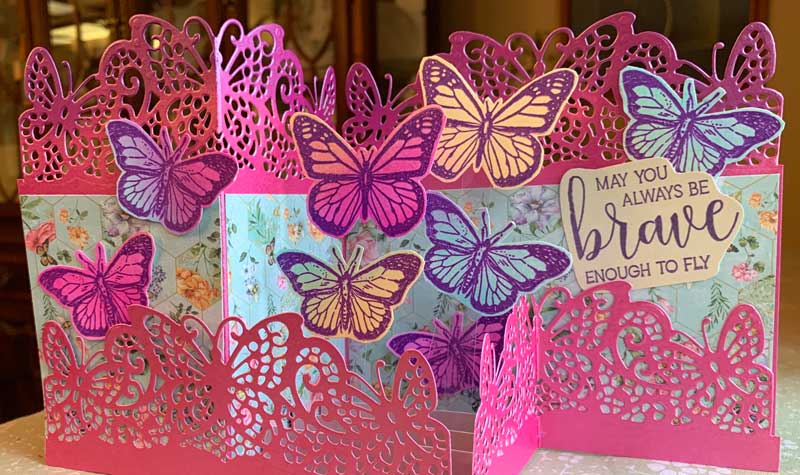
Then how about a fabulous “Z” fold card? This one starts with a 6 x 6 card base, and the front is folded the same as a fold back card. Then a second piece is folded with the same horizontal measurements, flipped, and attached along the bottom. I love this one with a pop up feature in the middle with butterflies floating on acetate strips. Beautiful!
Look for my next post about cardmaking techniques – inky backgrounds.
Leave A Comment