
How to Sew a Printed Fabric Wall Hanging (A Great Project for Multiples!)
Over the past five years I have been involved with our church craft group and have sewn many fun and beautiful projects to sell at our church holiday bazaar. It has been a wonderful experience to get to know other crafty ladies from the church, and a great way to support non-profit groups in our community with profits from the bazaar.
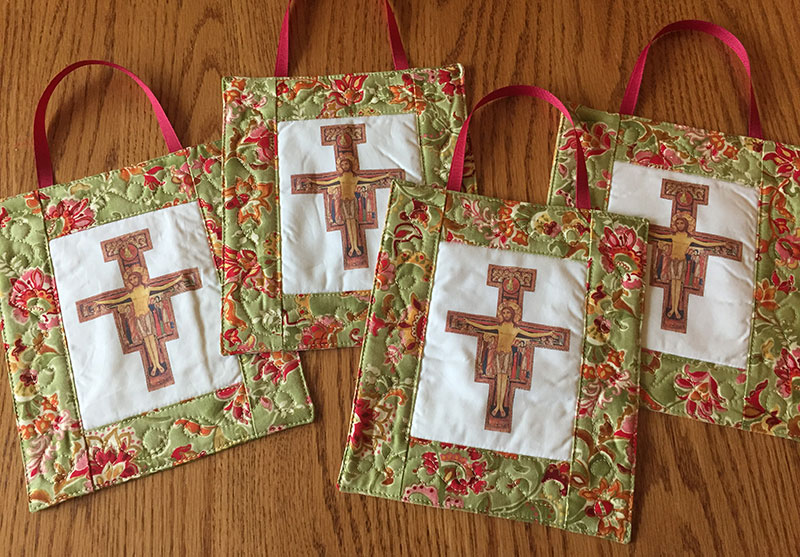
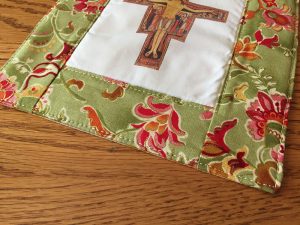
These little wall hangings that feature our church cross, the church façade, or even a favorite Bible verse are successful sellers. They can also be made as any kind of personalized gift for family, friends, and teachers. Printing an image on fabric using a home inkjet printer is a unique way to customize an item. You can find many free printables online to use featuring any subject you prefer such as kitchen or baby themes. They can be hung on doorknobs, draw pulls, and any empty hook needing a little colorful whimsy.
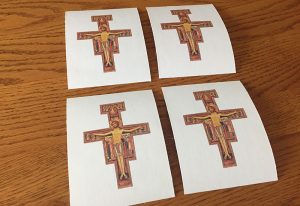
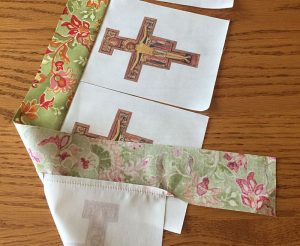
You can make these wall hangings any size, but I like to maximize the use of the printable fabric sheets. For this example I used four images that all fit on a letter size page. Be sure to leave enough space along the edges and between the images for seam allowance. After setting up the images on my computer with even spacing, I used Crafter’s Images PhotoFabric 100% Cotton Poplin for printing. It is packaged either in 8 1/2 x 11 inch sheets or a 8 1/2 x 100 inch roll that you can cut into sheets for printing. It comes with a paper backing to go through the printer that can be peeled off for sewing. The printed cotton fabric can be ironed and used just like regular fabric.
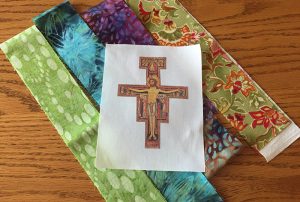
To make a frame for your image, choose some coordinating fabric. I always have extra fabric strips from quilting that work great and can even be combined for a quilt effect. Cut strips to desired width. (This example has 2 inch wide strips.)
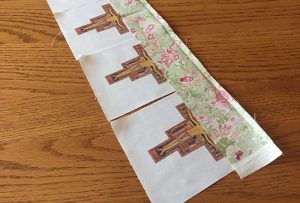
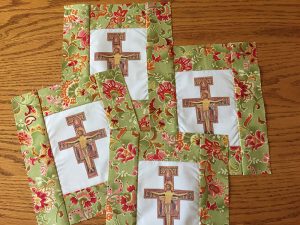
To make multiples for gifts or sale, sew each step in an assembly line. Start by sewing a strip to the top, then the bottom of each print. Then each side. After each step, cut each piece apart, iron open with the seams folded toward the strips, and square using a rotary cutter and mat.

Cut a backing fabric the same size as the front framed image, cut batting 1/4 inch less all around, and cut a sturdy ribbon the size needed for hanging. (I used 9 inches.)
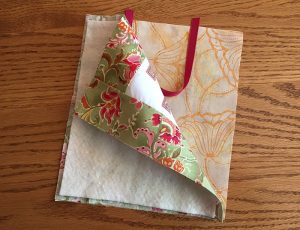
Stack the layers together as shown: backing fabric right side up, ribbon inside with ends evenly spaced with sides, front fabric right side down, and batting. Pin together layers. Sew together, leaving an opening on the side for turning right side out. Clip corners.
Turn piece right side out and gently push out corners using a blunted skewer. Iron flat.
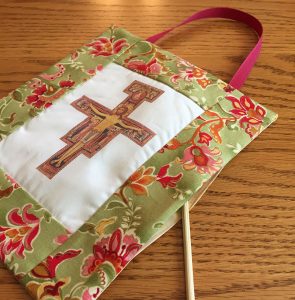
Top stitch all around close to the edge and catch the front and back fabrics at the opening – no need to stitch opening closed! Top stitch inside frame close to printed fabric edge.
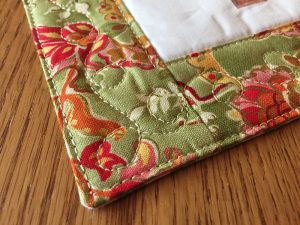
Optional finishing: Use free-motion quilting inside the frame to add detail. I am a beginner at free-motion quilting and these little wall hangings are the perfect way to try new skills. They are easy to move around for even stitches and you don’t have to worry about dealing with folding/pulling/balancing a large quilt.
Voila! You now have crafty personalized gifts for family, friends, teachers and community sales!
Leave A Comment