
Lucky Banner
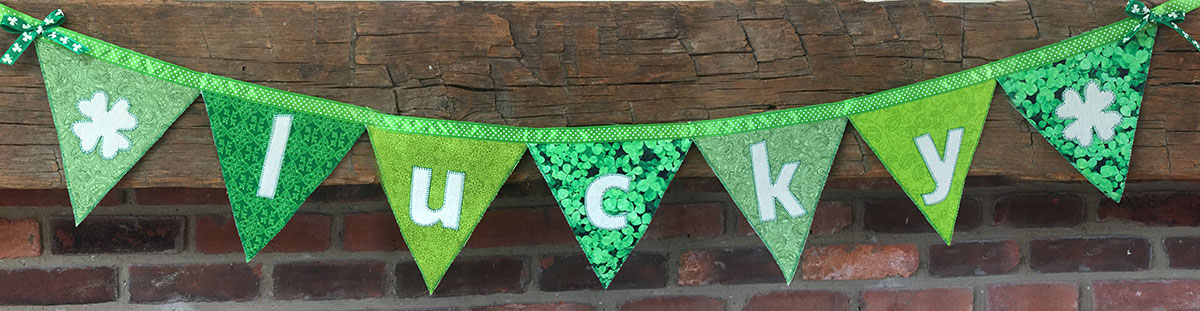
Looking for a little green for your upcoming St. Patrick’s Day decorations? How about a little crafty Lucky banner?
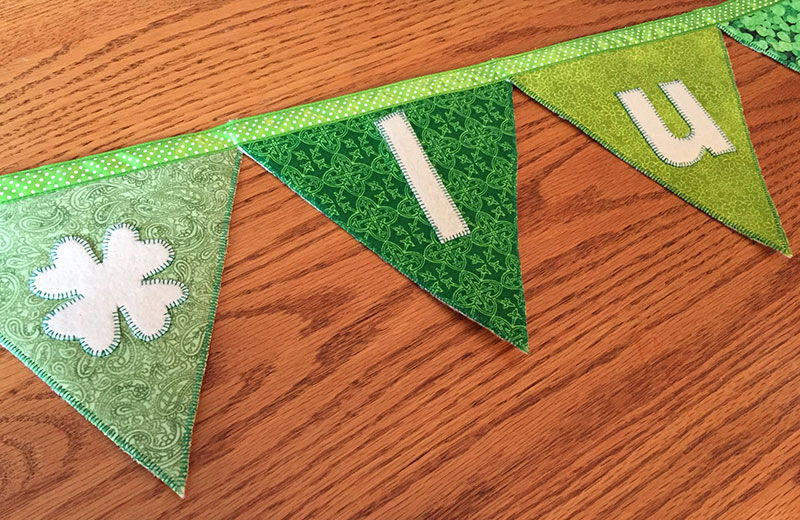
I created this one using one of my favorite techniques of cutting shapes with felt. Easy peasy, with no fraying edges and a perfect fabric to be trimmed with a green blanket stitch. And even more easy with my free template download.
Supplies:
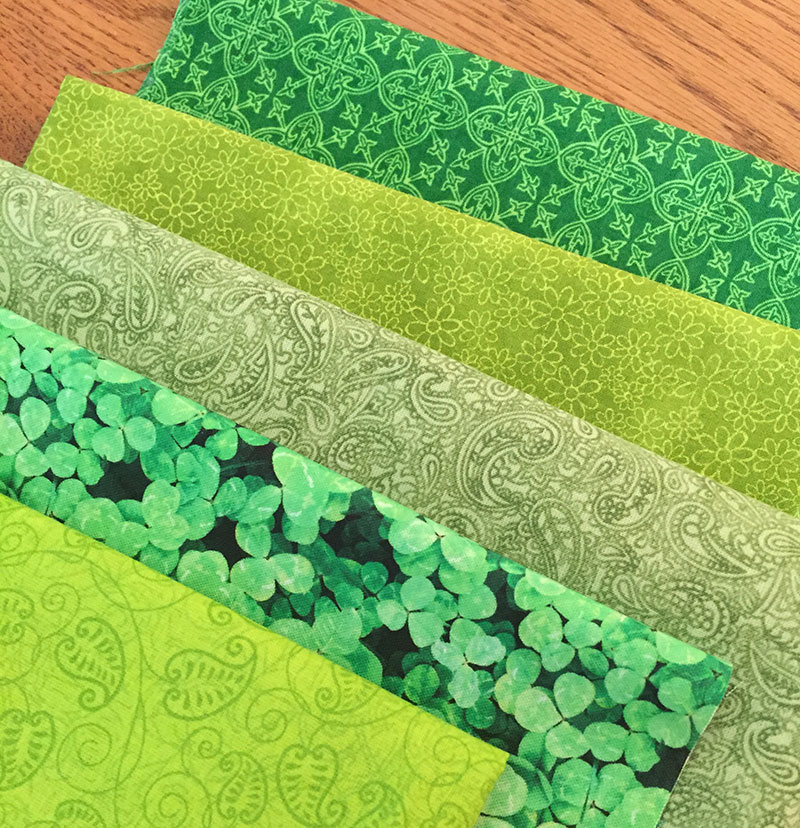
Green fabric scraps (I bought a fun clover print and added some quilting prints from my stash.)
1/4 yard ivory felt
1 yard fusible web
Green Thread
Ribbon (1/2 inch to 5/8 inches wide, a 9 foot spool is plenty)
Cutting Instructions:
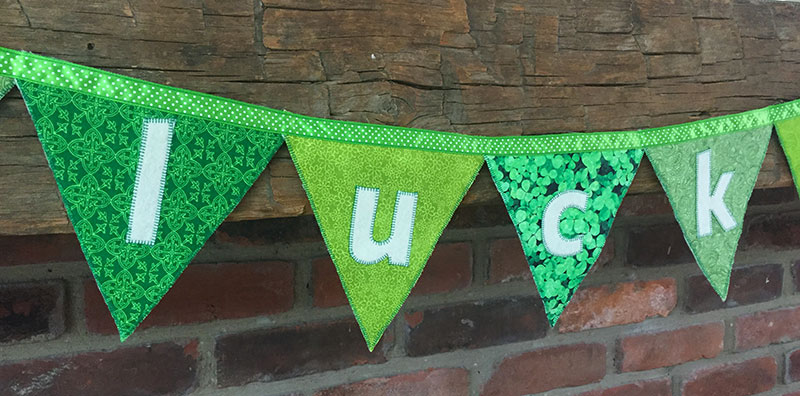
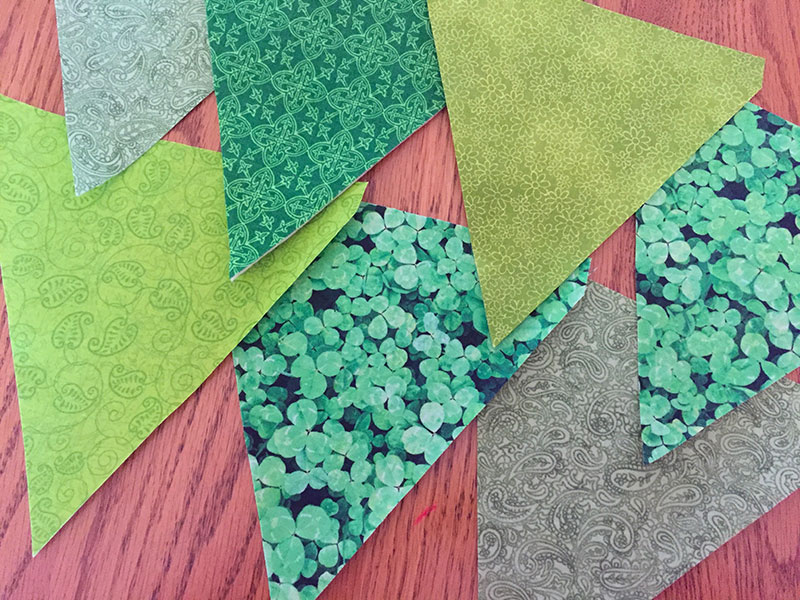
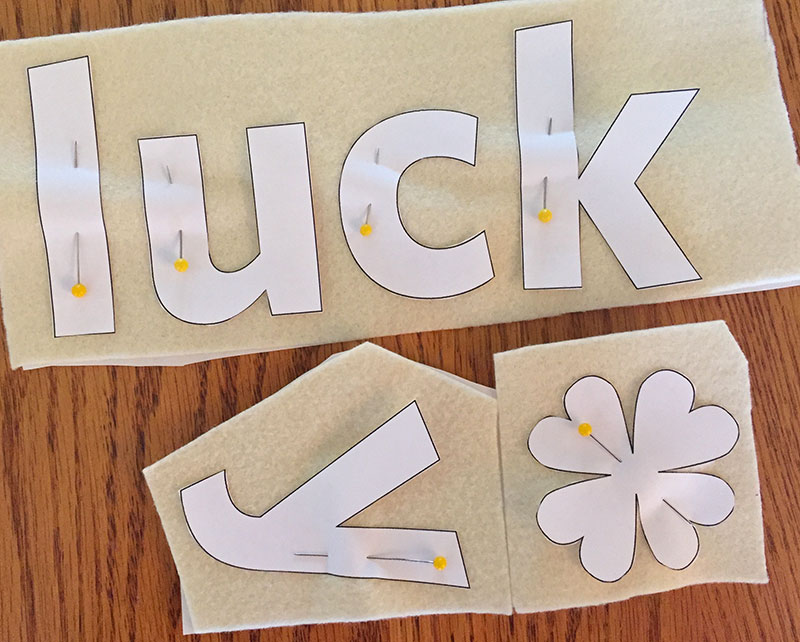
Select your fabrics for the banner. I used seven triangles with five fabrics to spell out “lucky” with two shamrocks on the end. (I also included a stem and single clover leaves in the template if you want to try a 3D variation.)
Rough-cut the triangles out of each fabric with about 1/2 inch around the edges of the template. Arrange the rough-cut triangles onto the fusible web with a little overlap. Cut off any excess fusible web so the rough-cut triangles cover it entirely and iron to fuse. (This will prevent getting sticky web onto your iron.)
Pin the triangle template onto each rough-cut triangle and cut out. (Keep the fusible web paper backing attached.)
Cut a piece of felt large enough to fit “lucky” and any other template pieces you want to include. Cut a piece of fusible web slightly smaller, and iron to the felt. Pin the shapes onto the paper backing and cut out. (The iron should be on a synthetic so not to melt the felt. To adhere the web easier, iron with the paper backing on top of the felt.)
Triangle assembly Instructions:
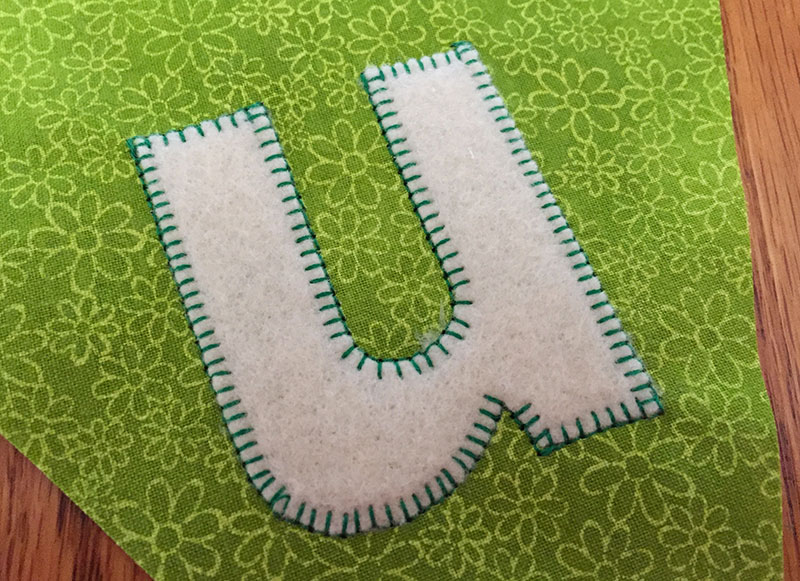
Peel the paper backing off the letters and align onto each triangle. (I aligned the the baseline of each letter at 2 3/4 inch from the bottom point.) Iron on the letters using the synthetic setting. If it does not adhere well, flip the triangle over, keeping the letter aligned, and fuse from the back through the paper backing of the triangle fabric.
Peel the paper backing off the triangles and sew around each letter onto the triangle fabrics using a small blanket stitch. The fusible web may feel like it won’t feed through your machine, but I found it worked fine. Make sure your needle is at the outside position along the edge of the felt before pivoting to keep your stitches neat.

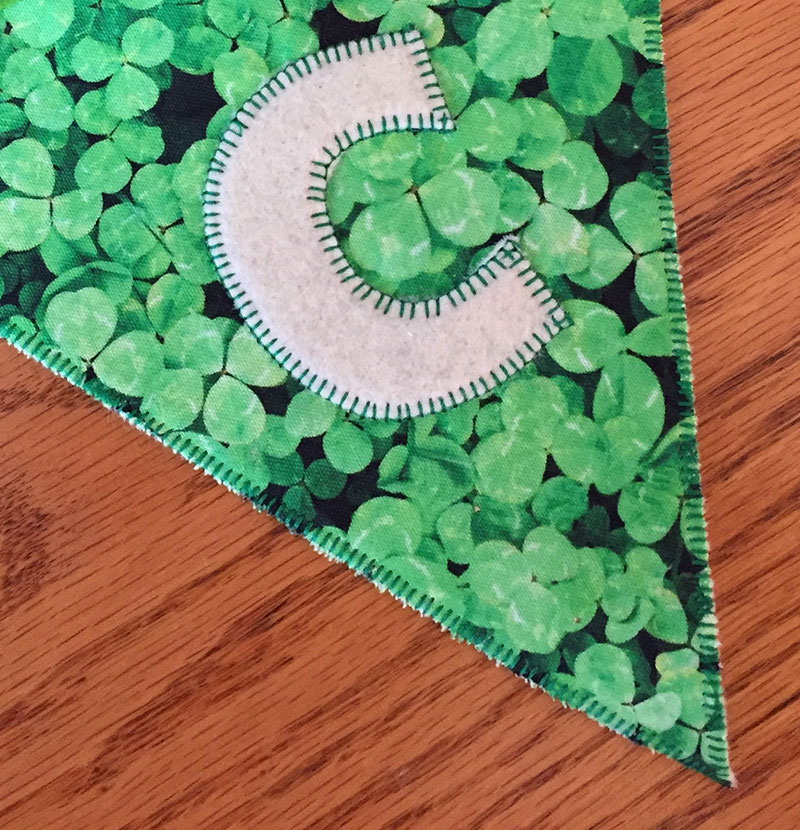
Fuse the triangles onto the felt and cut around exactly at the edge of each.
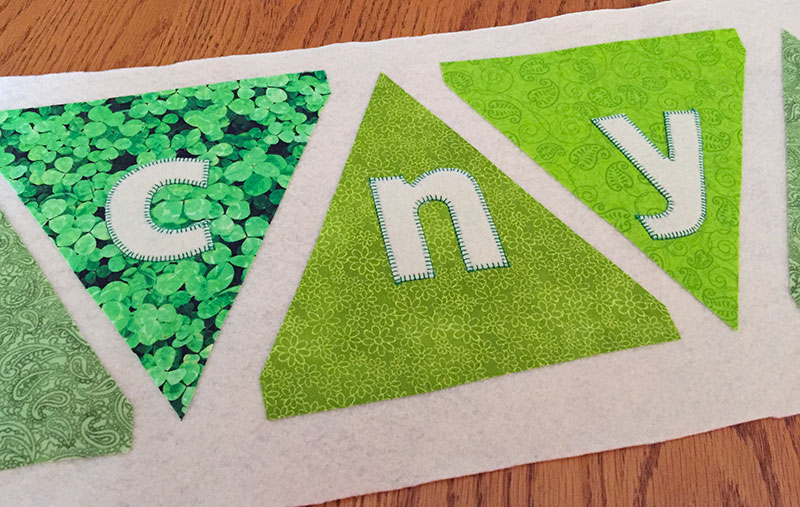
Using the same blanket stitch, sew around the edge of each triangle, letting the stitch go off the fabric at the edge.
Banner Assembly Instructions:
Space out each triangle evenly and sew the ribbon along the top, leaving a little space between each triangle and plenty at each end for tying.
Add any embellishments you like, such as ribbon ties, beads, and a little gold paint.
Lucky you. A crafty way to celebrate St. Patrick’s Day!
Leave A Comment