
Simple-to-Sew Holiday Placemats
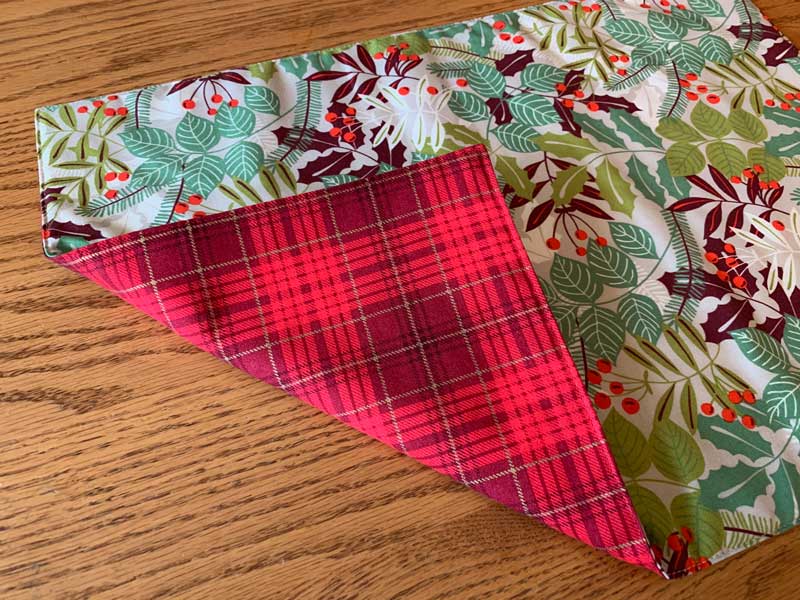
I’ve been sewing up these simple placemats for years for our church bazaar, and they are great sellers every time. The key to creating a high-end impression with this simple design is the fabric selection. Of course you can use two fabrics from a collection, but another strategy I use is to pick a larger pattern paired with a tone-on-tone plaid/stripe or small print. Each fabric also has contrasting background colors. By using this strategy, the placemats are both coordinating and reversible!
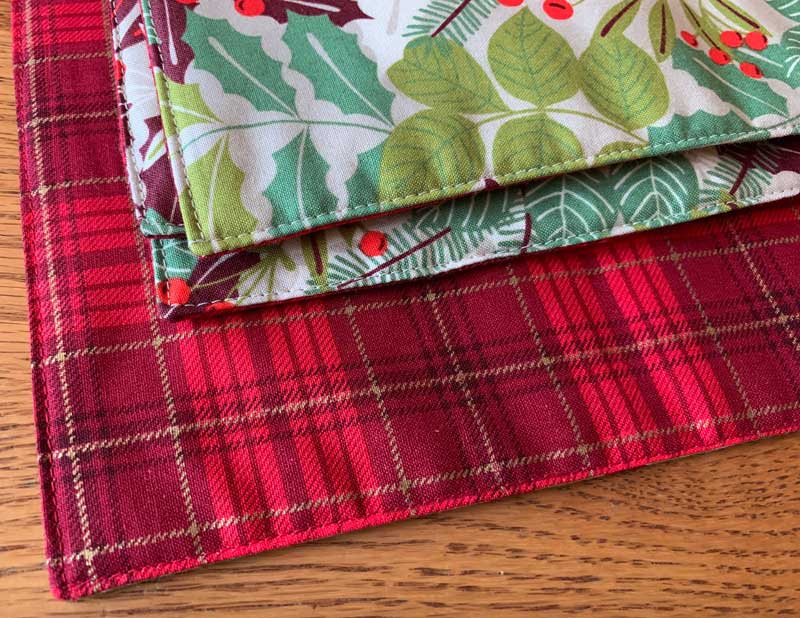
I’ve tried different sizes and found that too small look kind of cheap, and too big kind of overlap when at each place setting. The final size I like is 18 inches by 13 inches. Also, when making holiday placemats, sets of 6 or 8 are better since people tend to have more people at holiday dinners.
Other tips I’ve learned are:
- Binding just adds bulk, time, and a bump where a glass could tip when set on it.
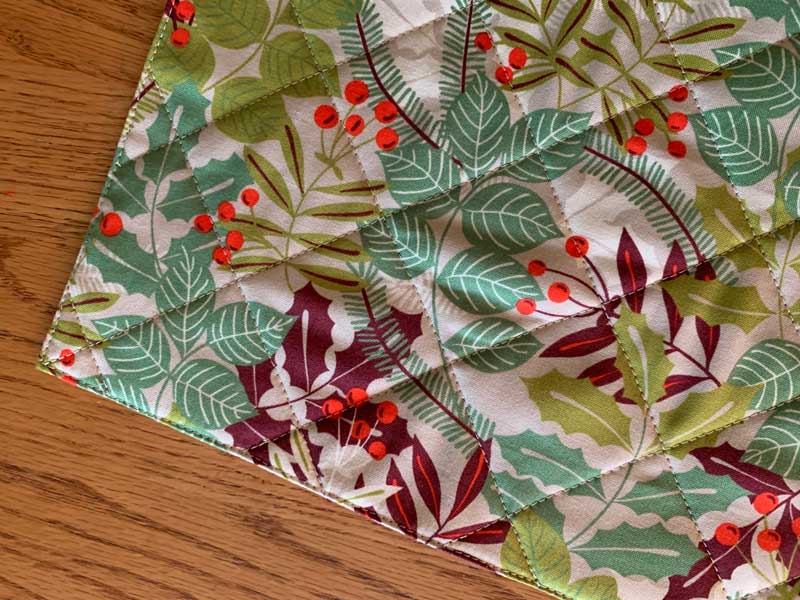
- Simple quilting adds interest and keeps the layers together. The small size makes it a great piece for some free-motion quilting practice!
- I like using thread that matches the dominate color of the fabric, usually the background. I even like to use a different color thread in the bobbin if necessary. That way the quilting is secondary to the fabric. It also helps hide any quirky quilting stitches.
Supplies (for a set of 6):
1 1/8 yards of two coordinating fabrics
Batting for six 18 x 13 inch rectangles
Coordinating thread
Instructions:
1. Cut six rectangles in each fabric, 18 ½ x 13 ½ inches, noting any directional designs in the fabric.
2. Cut six rectangles of batting, 18 x 13 inches
3. Layer one rectangle of the front and back fabrics, right sides together. Then center one batting rectangle on top.
4. Sew around the edge using a ¼ inch seam allowance. It’s okay to catch a bit of the batting in the stitching sometimes – it helps keep it in place when turning right side out. Leave at least a six inch opening along one side.
5. Turn placemat right side out, keeping the batting in place. Use a corner tool to poke out the four corners.
6. Iron the edges, straightening the fabric along the stitching line. Iron the opening seam allowance ¼ inch, folding in to match the line of the stitching.
7. To close the opening, top stitch around entire placemat with coordinating thread very close to the edge of the placemat.
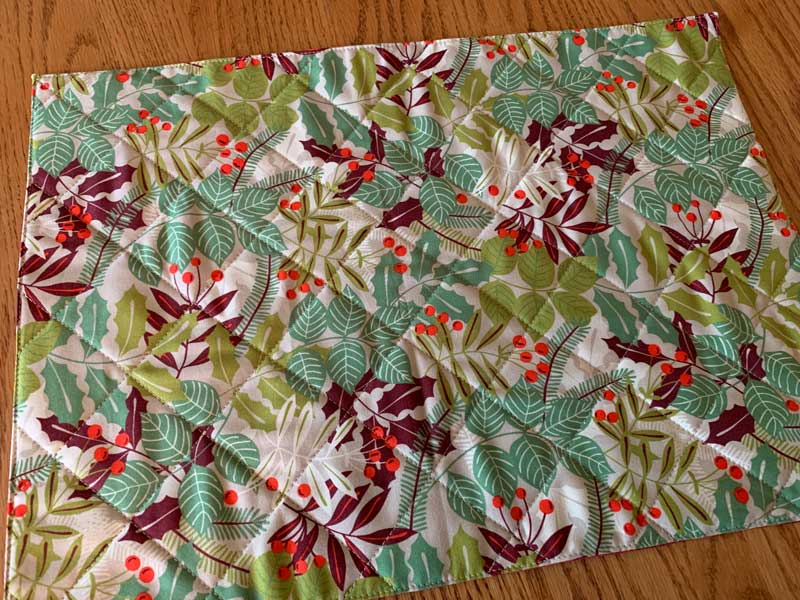
8. Quilt as desired.
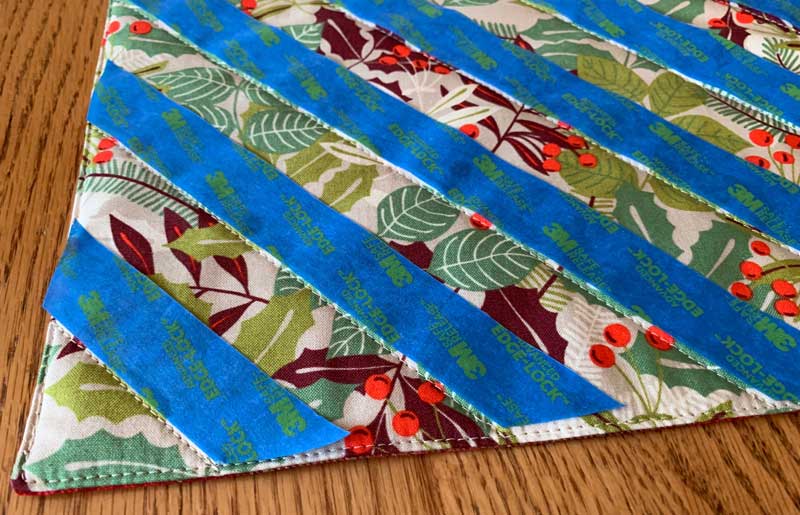
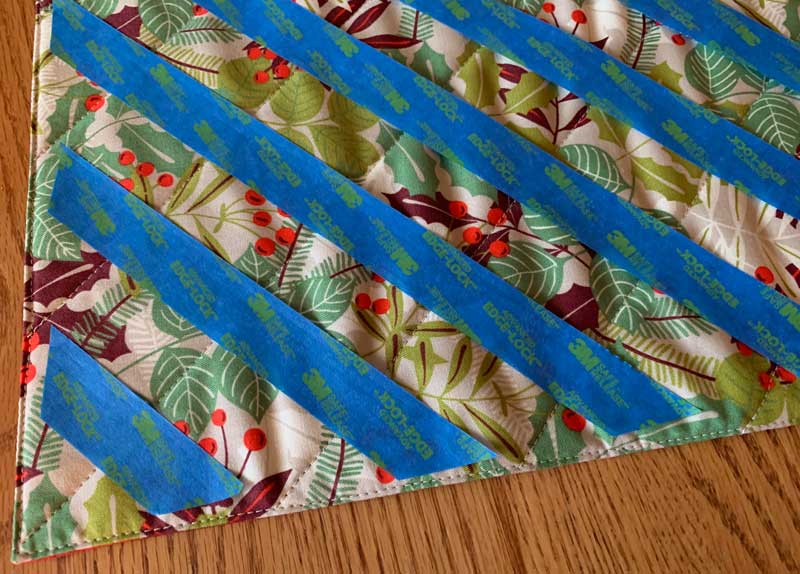
Another quilting option is to sew straight lines, matching with the angles of the fabric. In this example, I used 45 degree lines to go with the red plaid on the back fabric. To make straight lines, I like to use painter’s tape measured with my quilting ruler. Then I sew along the edge of the tape. I can reuse the tape until it stops sticking 3 or 4 times.
Voila! Holiday placemats ready for your holiday table!
Leave A Comment