
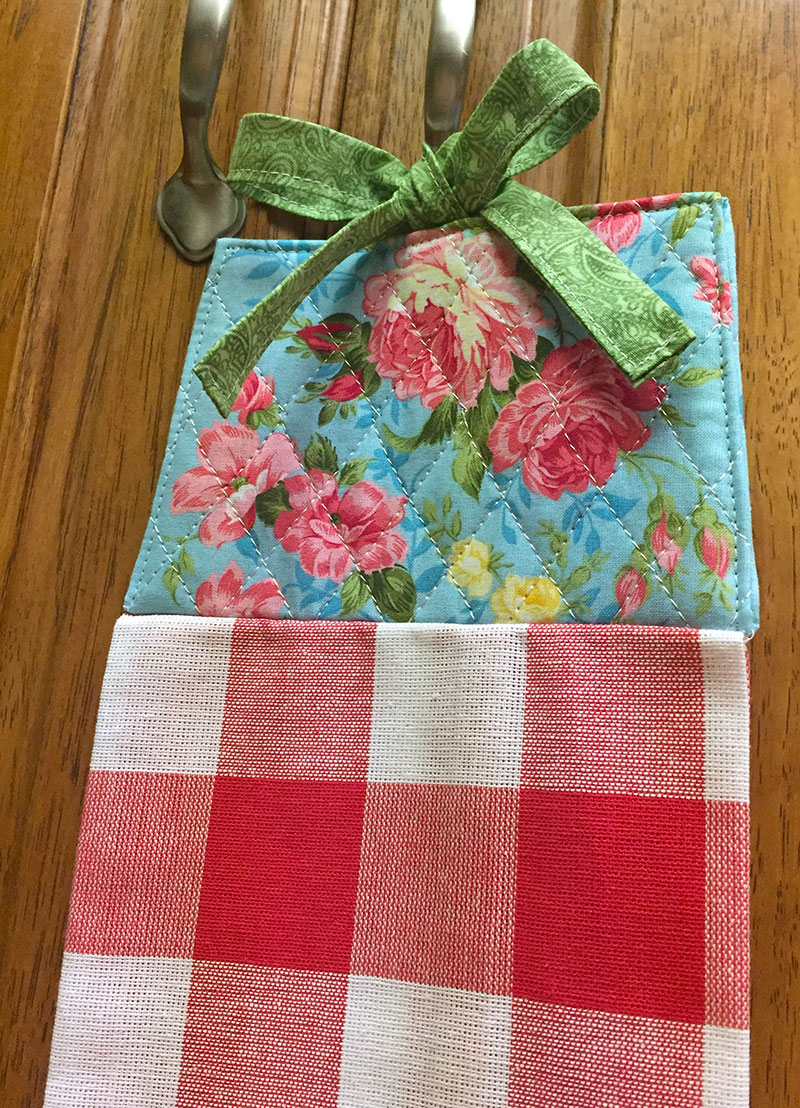
Super Simple Towel Topper Tutorial
I’ve been sewing towel toppers over the years for gifts and for our church bazaar. They are fairly easy to make and fun to match up fabric stash scraps to towel colors and themes. But sometimes it gets a little hard to push the towel with the fabric topper through the sewing machine.
So I was inspired to try a design that avoids sewing over the doubled bulk of the towel altogether. This is a version of a towel topper crafted by a lovely lady named Florence from our church. She’s been sewing and donating beautiful fabric creations for as long as I can remember!
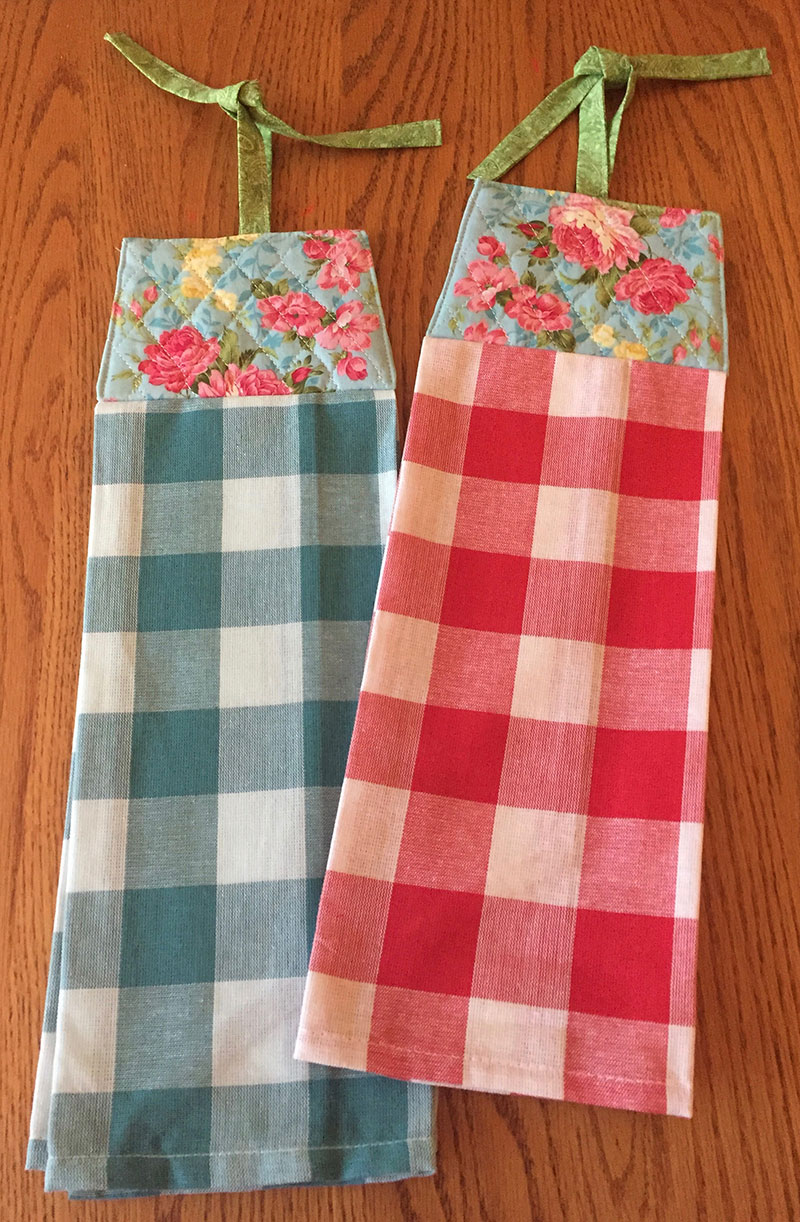
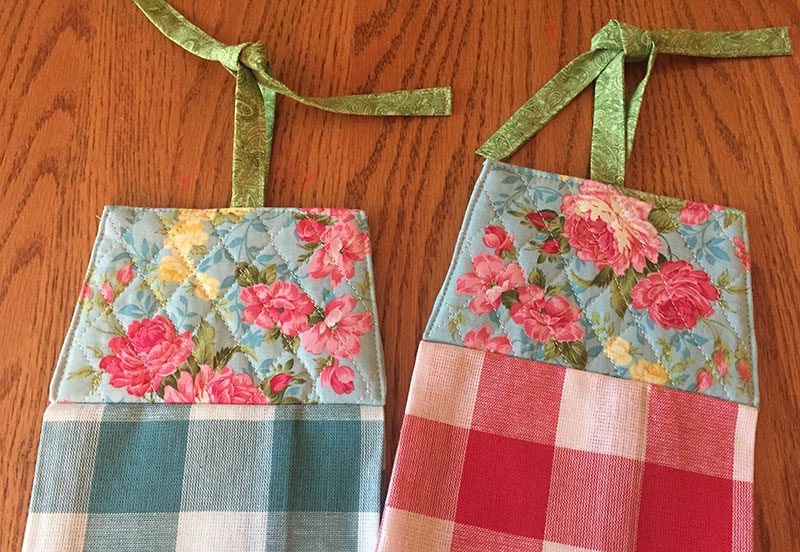
These beauties go together in minutes and by using fresh colors and fabrics, they are a modern take on a classic idea.
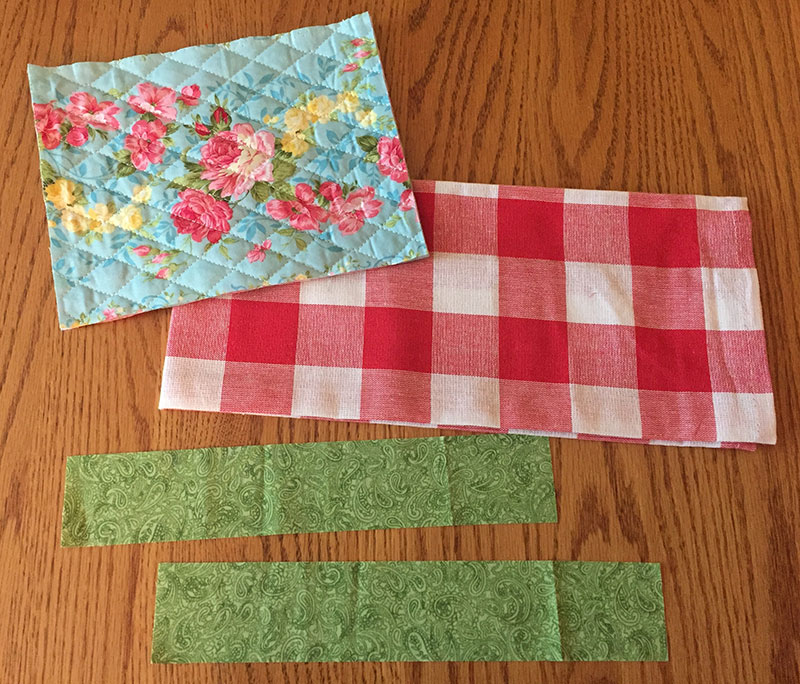
Supplies:
Kitchen towel (I’m using “The Pioneer Woman Charming Check Kitchen Towel Set” from Walmart in this example.)
Pre-quilted fabric in coordinating colors (I selected “Double Faced Pre-Quilted Cotton Fabric -Blue Floral Stripe” from Joann Fabrics.) Each topper uses a piece approximately 8 x 10 inches.
Two strips of fabric in coordinating colors for ties (2 x 11 inches each)
OR use any sturdy ½ inch wide ribbon, binding, etc. that you have on hand.
Thread in the same color as the stitching on the pre-quilted fabric.
Super Simple Instructions:
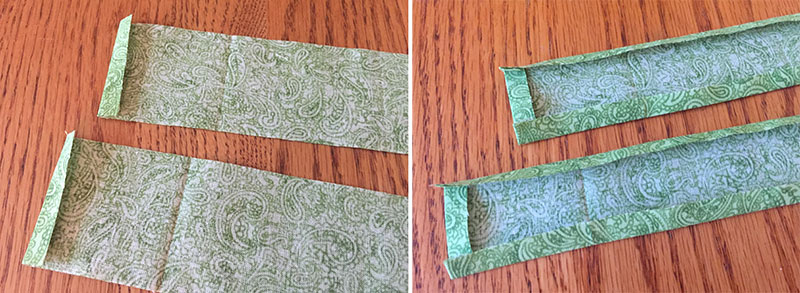
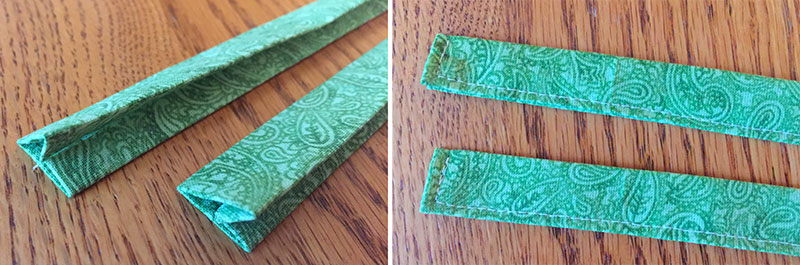
For the ties, fold one end on each ¼ inch and iron. Then fold ¼ inch along both long sides of the ties and iron. Fold the ties in half and iron. Sew close to the edge to enclose the raw edges.
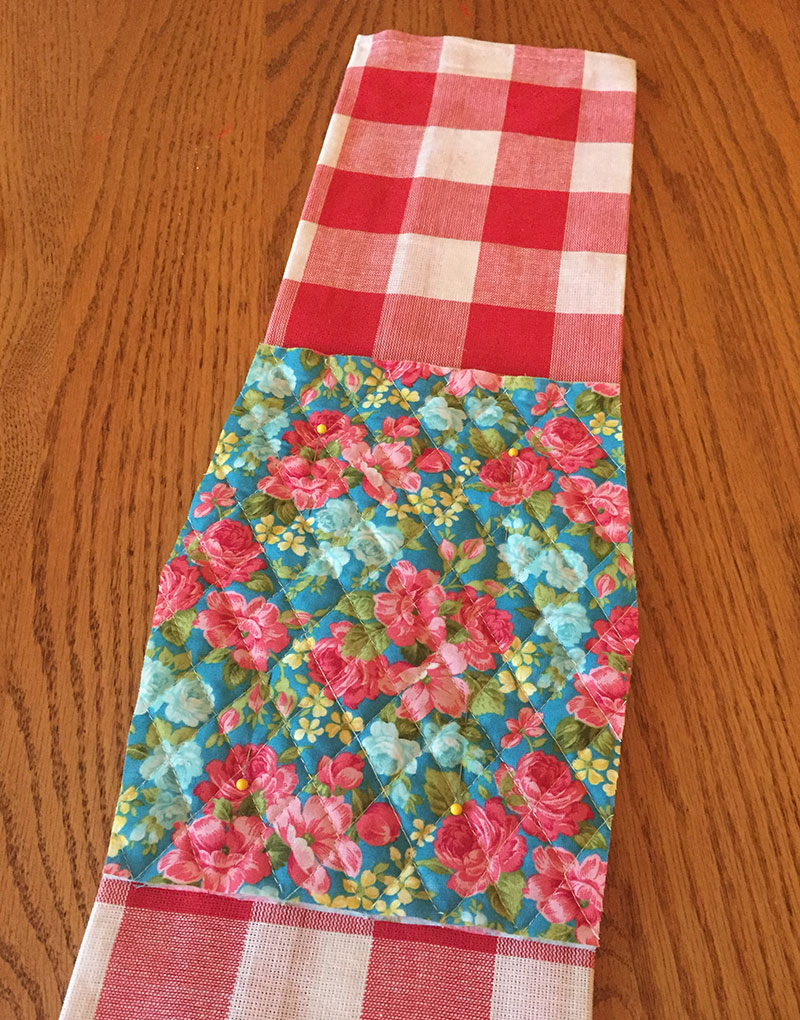
Cut a piece of the pre-quilted fabric 9 inches by 1 inch wider than the folded towel. For example, my folded towel is 6 ¼ inches wide, so I cut my fabric 9 x 7 ¼ inches.
Fold the fabric in half and cut an angle piece from each side, starting at the edge of the fold to ½ inch in at the cut edge.

Unfold fabric and mark the stitch line on the inside/wrong side of the fabric along the fold.
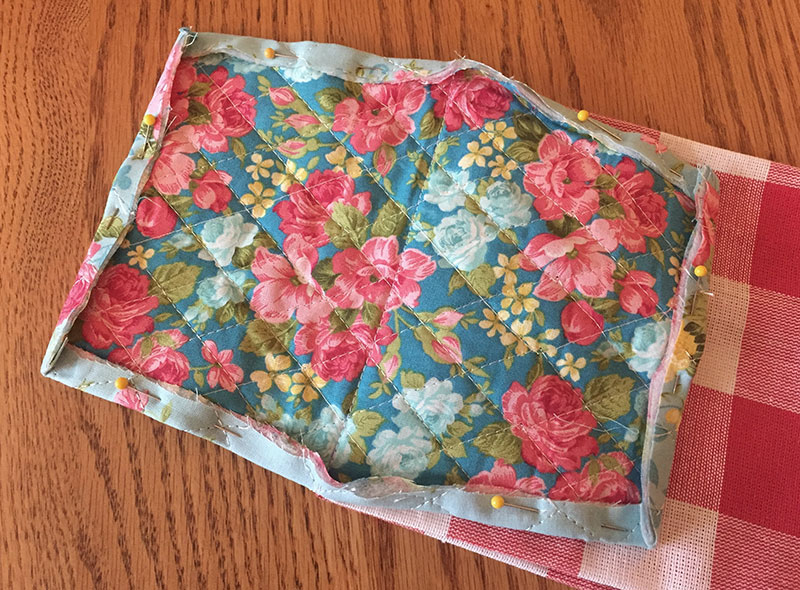
Pin the towel and the fabric, right sides together, lining up the folds on both, and leaving the ½ inch seam allowance overhanging on each side. Stitch along marked line, starting and ending at the edge of the towel.
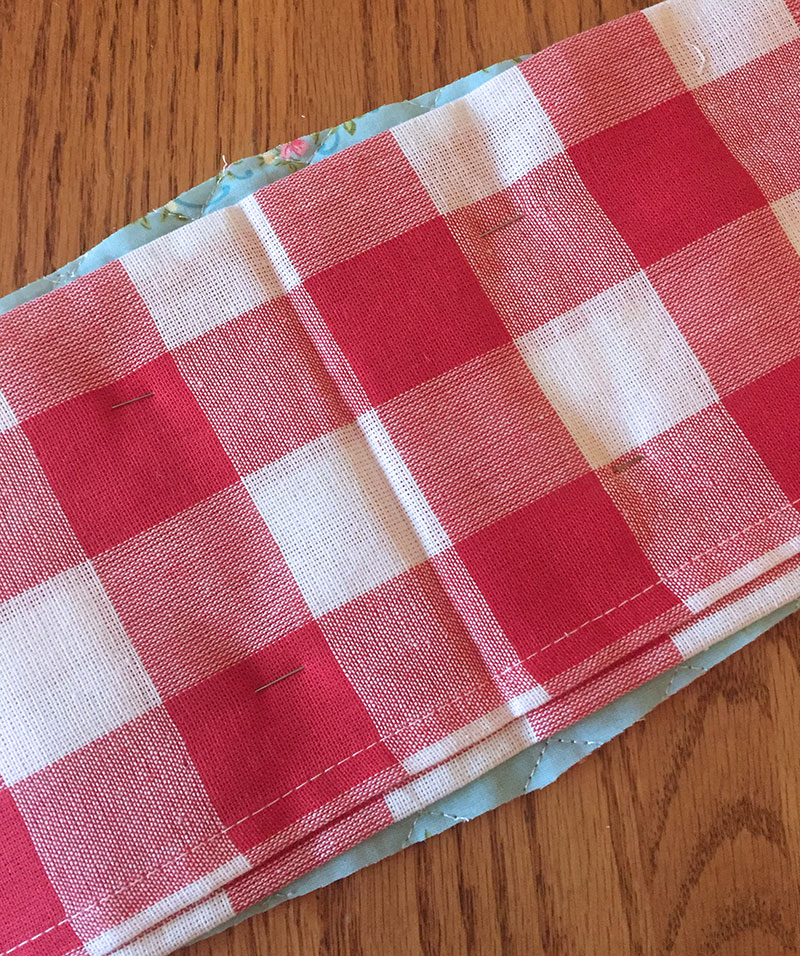
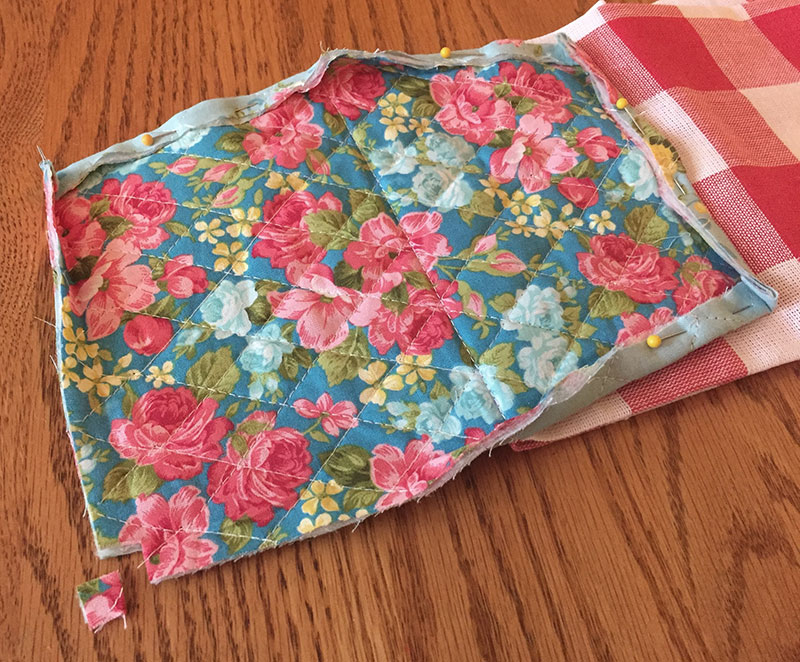
Fold in and iron the seam allowance on the sides of the topper ½ inch, then fold in the tops ½ inch and iron. Cut away the extra fabric at the top corners to reduce bulk.
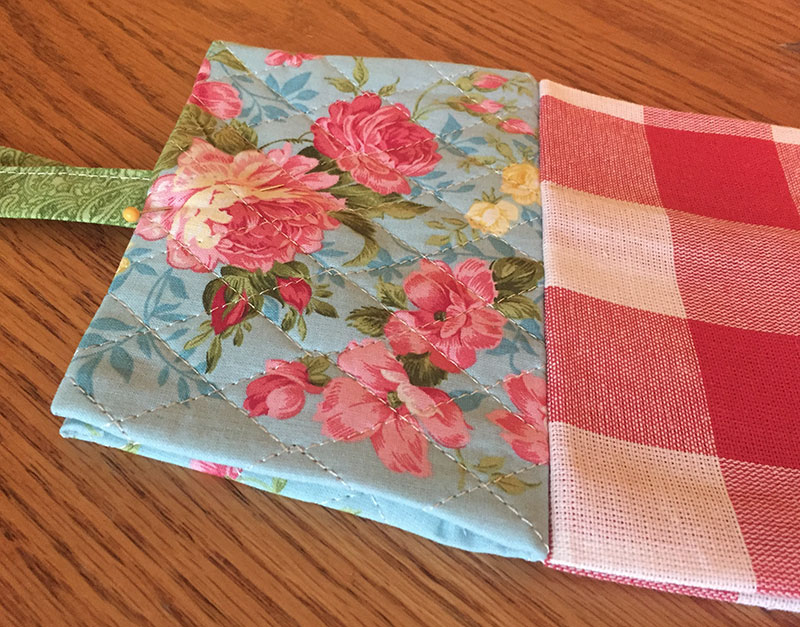
Fold the topper wrong sides together, add the ties inside at the top and pin. Carefully sew close to the edge around the topper.
Tips for Success: Use a micro stitch at the beginning and end of this stitching, to keep the stitches neat and clean. (A micro stitch is a super short length stitch that locks the ends without back stitching. On my Singer, I use a stitch length 3 for the main stitches, and start & stop with 3-4 micro stitches at .8 length.)
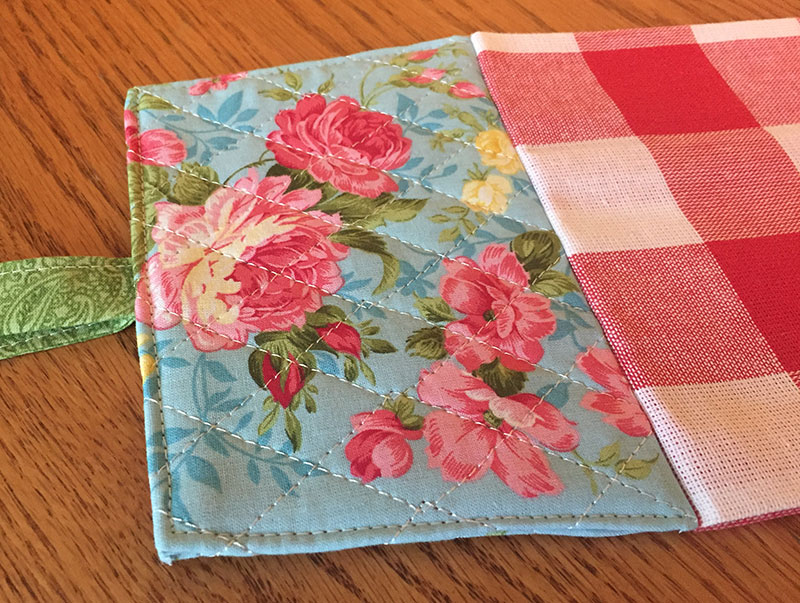
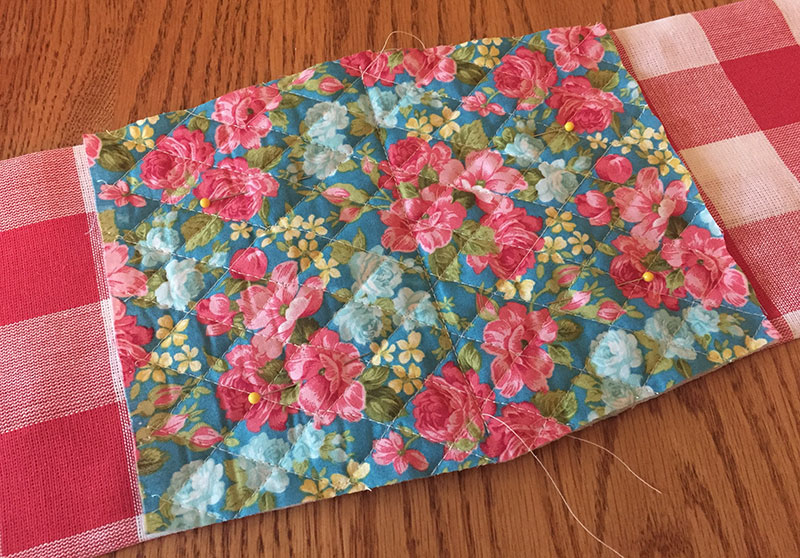
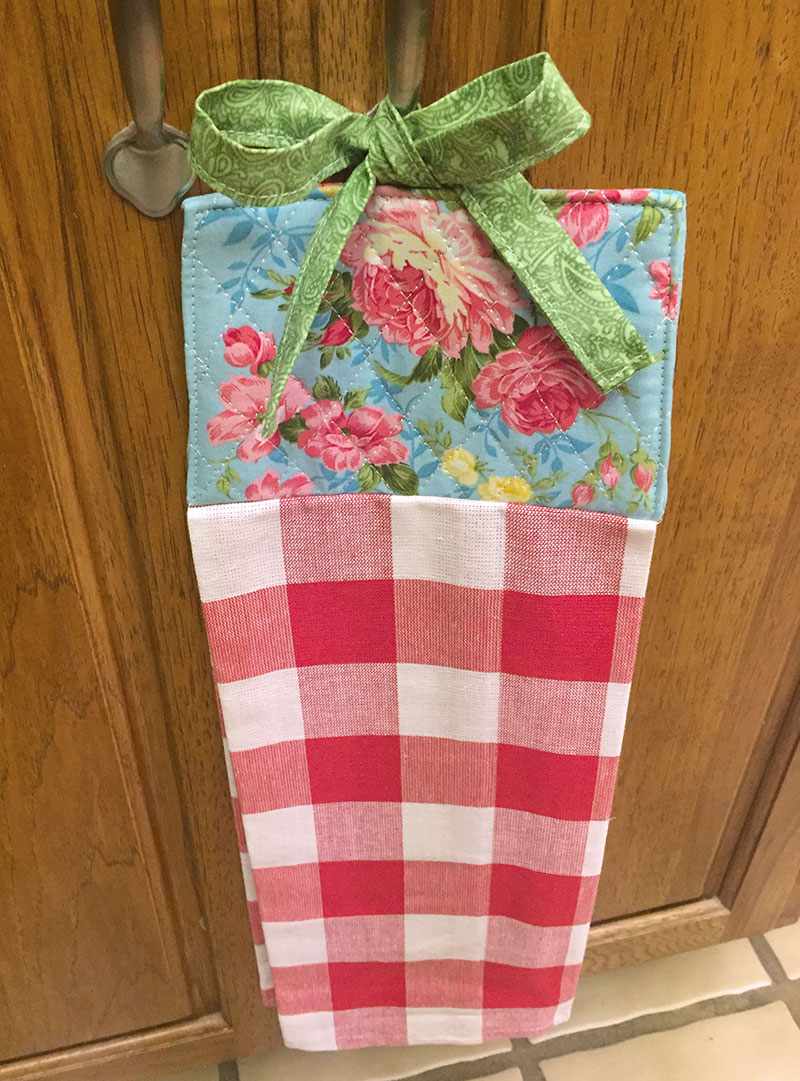
Yea! It’s all done! These are super simple to make and look so fresh and bright.
Next up: The same towel topper design, using your own quilted fabric!
Veronica | 23rd Feb 23
Thank you for sharing. Easy peasy project for my granddaughter.