
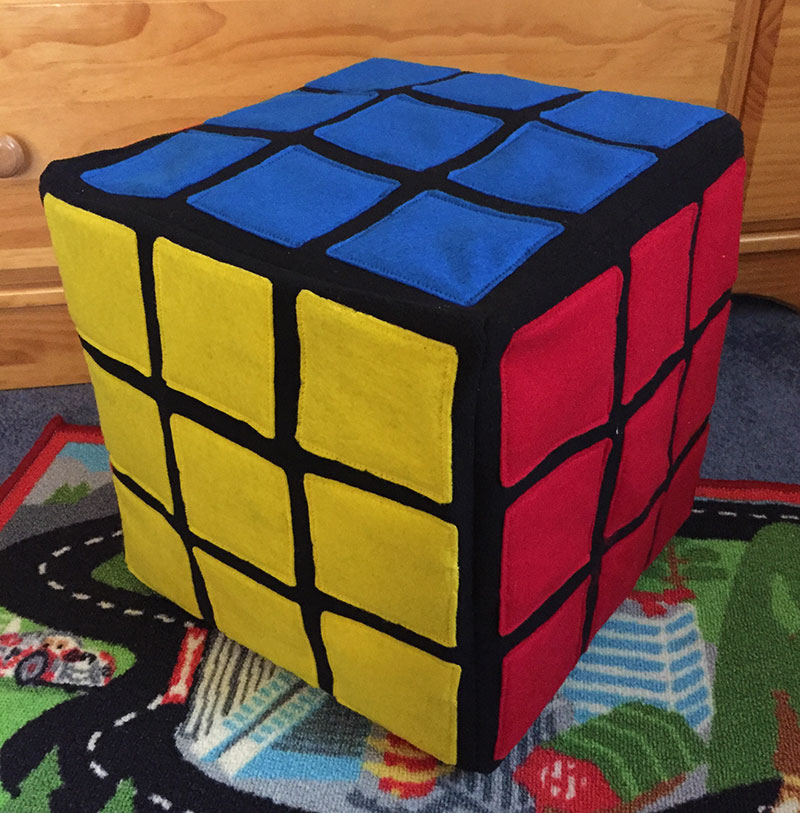
Rubiks Cube Pillow Sewing Tutorial
My kiddos are officially cube crazy, and now have several types of cubes. They are constantly mixing and solving them, and racing to beat their fastest time. And I love them too – because they aren’t a screen!
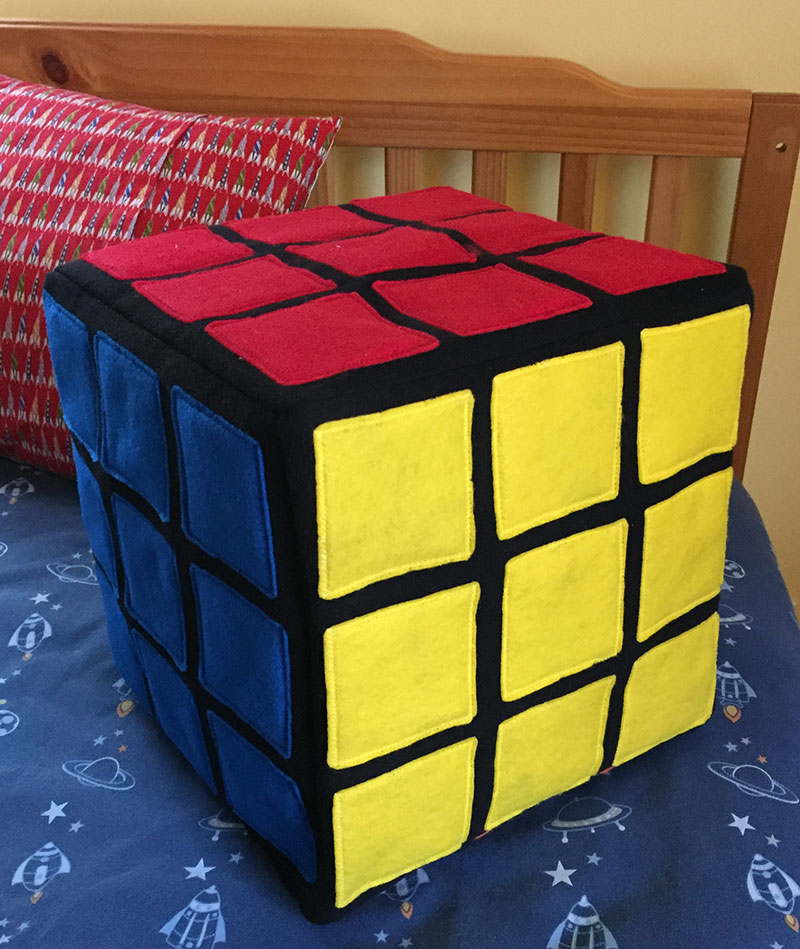
So to get in on the fun, I decided to design a Rubiks Cube Pillow for them to add to their collection. This pillow is similar to the Fidget Spinner Pillows I made for them, using fleece and felt, and is about 12 inches. The cube pillow is easy to put together, and can be made in a couple days.
Supplies:
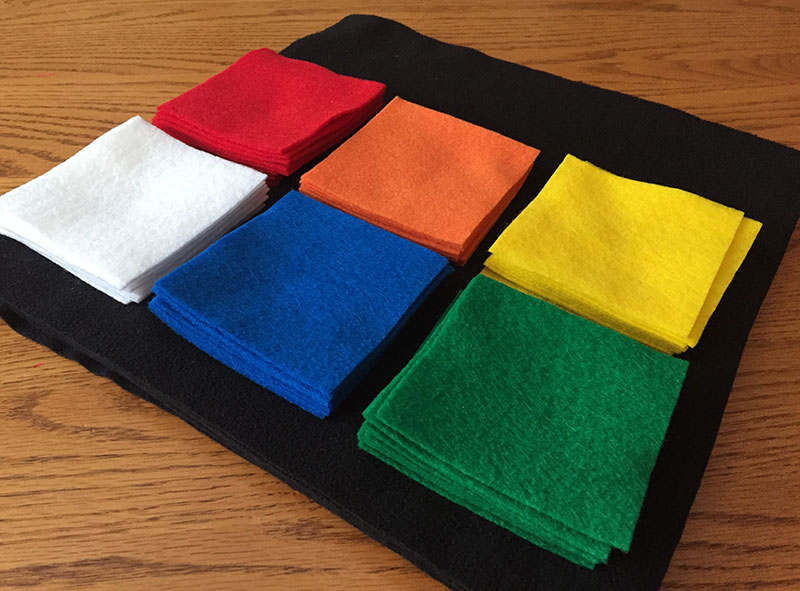
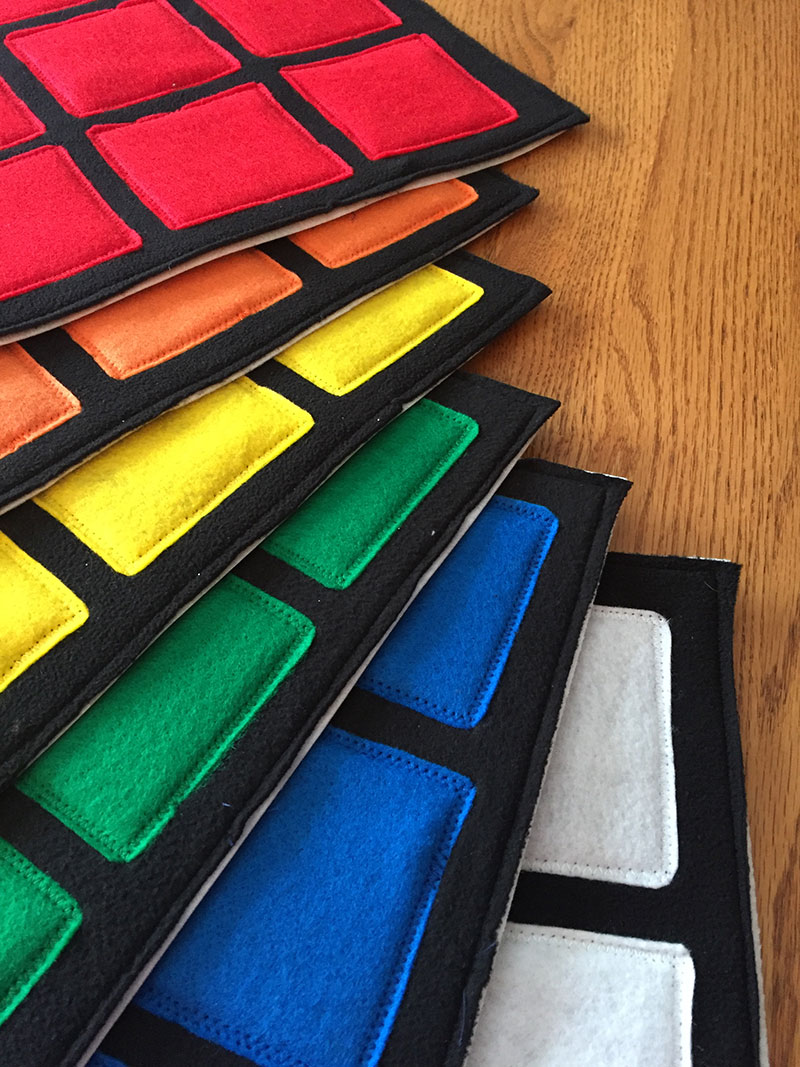
2 each of 9 x 12 inch Craft Felt in Red, Orange, Yellow, Green, Blue and White
7/8 yard Black Fleece (I chose micro fleece because is comes in a more saturated black than regular fleece)
1 1/4 yard Pellon Extra Firm Stabilizer
Thread in Black, Red, Orange, Yellow, Green, Blue and White (or you can use all black thread if you wish)
Big Bag of Polyester Fiber Fill for stuffing the pillow
Rotary Cutter and Cutting Mat
Directions for Sewing:
Cut the stabilizer and black fleece into six 13 inch squares each.
Cut the felt into nine 3 1/2 inch squares each.
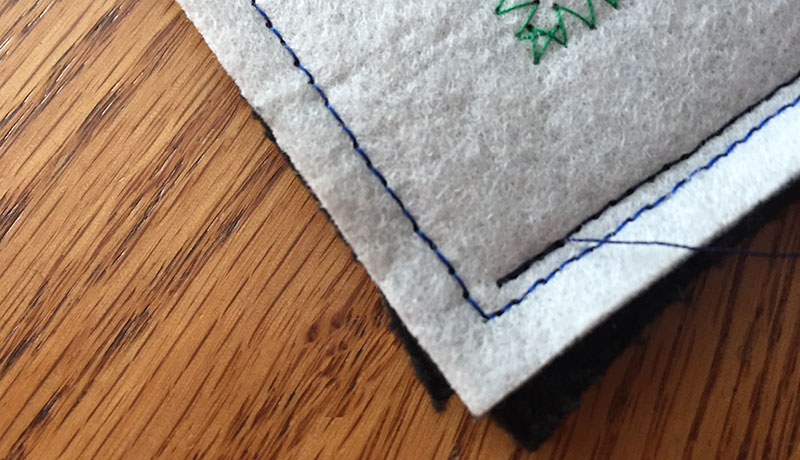
Line up a black fleece square on a stabilizer square, pin, and sew around each with a 1/4 inch seam. (This step will make it easier to sew the sides together in the end.)

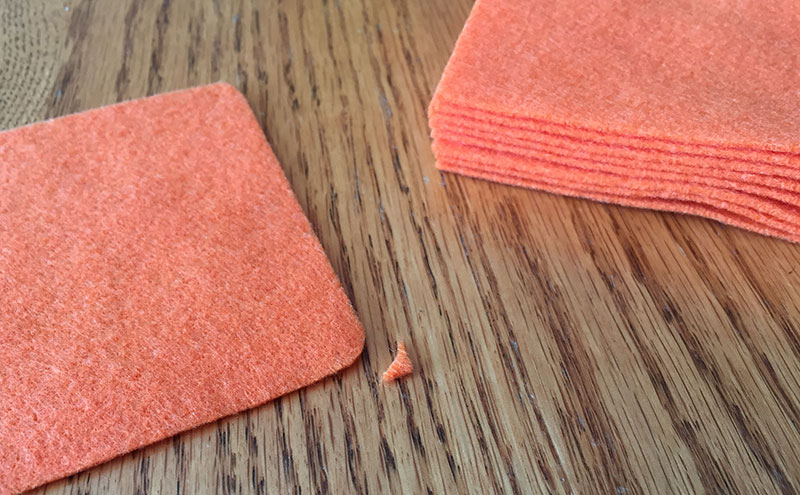
Trim a tiny curve off each corner of all the colored felt squares.
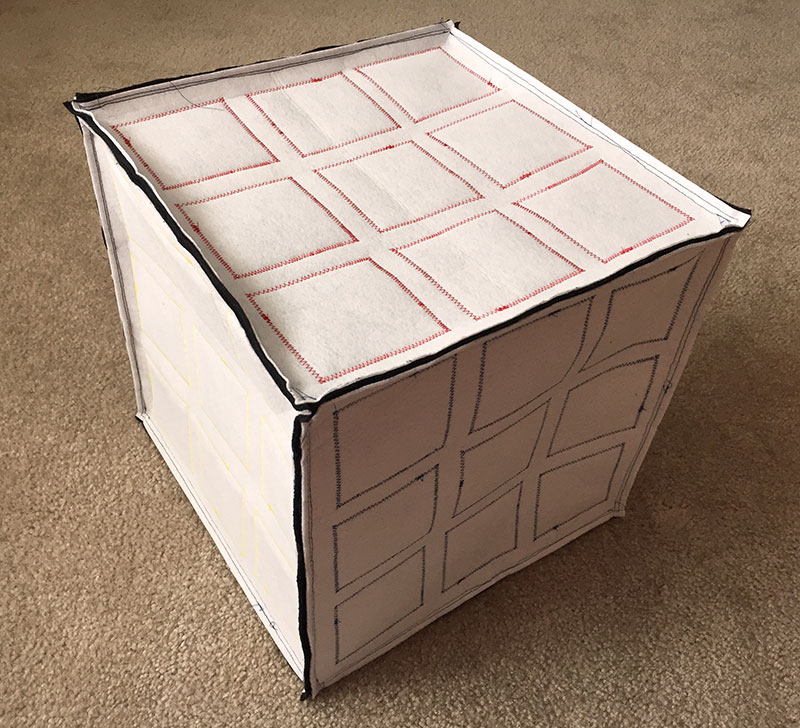
Place the colored squares on the black fleece/stabilizer square, spaced evenly with 1/2 inch between each, and 1/2 inch from the stitches around the edges. Pin.
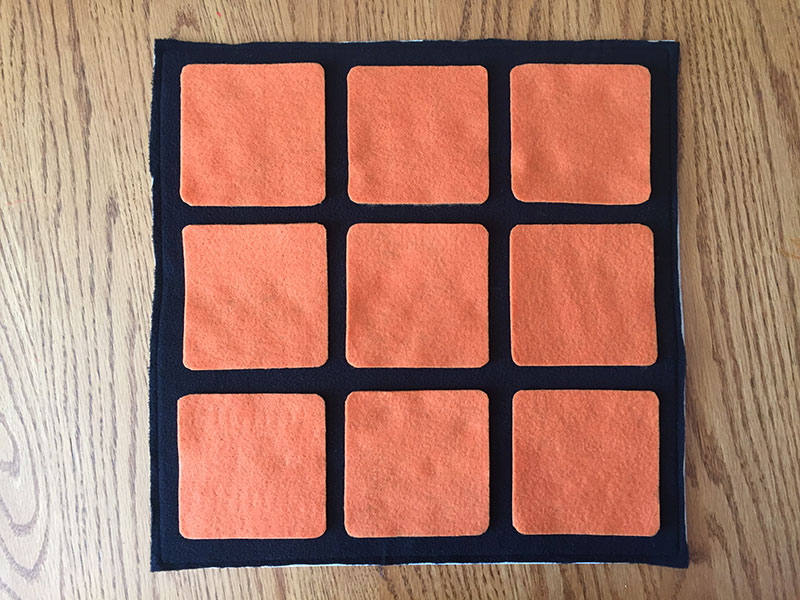
Using a small zig zag stitch, sew around each square.
Tips for Success: When using a zig zag stitch, always stop at the corner with the needle at the outside edge of the square before pivoting to the next side to make the corners line up neatly.
Assembling the cube:
To sew the cube together, use a 3/8 inch seam, using your 1/4 inch seam stitches as a guide and sew slightly inside them. Carefully line up two sides right sides together, starting and stopping 3/8 inch before the ends of the sides.
Tips for Success: You can refer to an actual Rubiks cube for correct color placement.
To make the opening for stuffing, place the orange and green sides RST, and sew only a couple of inches near each corner leaving a space in the middle (remembering to start and stop 3/8 inch away from the ends.) Be sure to leave the opening extra big, because it will be very bulky to turn right sides out at the end.
Next, add the white side and sew along two sides. I like to start at the end where the other two sides are already connected. Open the seam with the right sides up, place the white side on top RST and overlap the end where the other two meet, making sure the seam allowance on the underside is folded up/out. With the ends on the top and bottom aligned and pinned, sew the sides together, starting where the first stitching stops, 3/8 inch from the end.
Sew the second side of the white to the green and orange.

Sew the on the red side, opposite from the orange in the same manner, sewing two sides. (leaving the third side unsewn makes it easier to sew in the last side.)
Sew in the blue on all four sides.
Sew the last edge together. (This is the hardest one to stuff under the sewing foot, but it’s possible. It’s okay to smoosh the sides – they bounce back afterward.
Turn cube right side out, stuff, and hand sew opening closed.
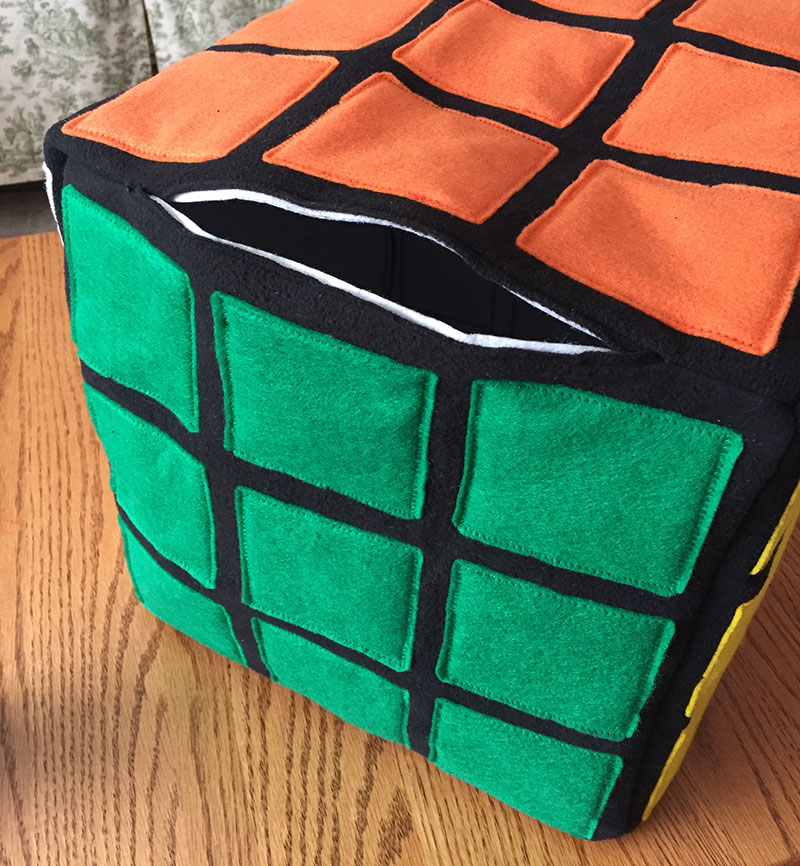
Tada! A crafty pillow for a cunning cuber. Enjoy!
Leave A Comment