
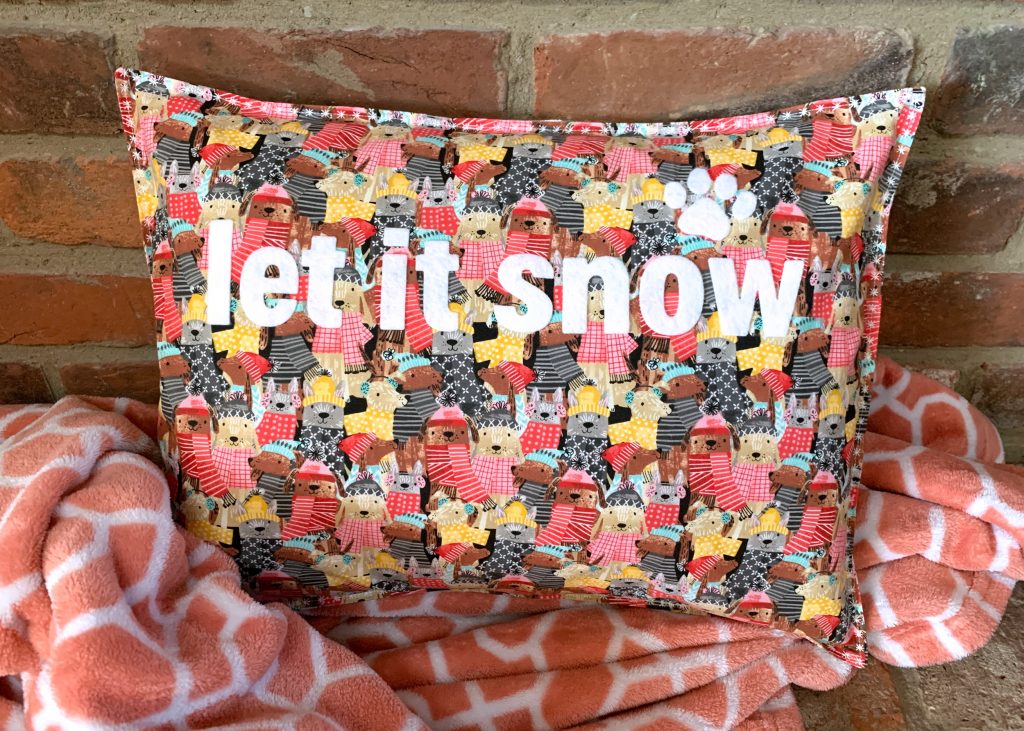
Sew Up a Quick “Let it Snow” Pillow with Whimsical Fabric

This is a little project I had in my mind for a while, and I finally put it together to share with you. This pillow is the same pattern as my Simple Travel Pillow Tutorial but with a few additions to add some more fun personality.
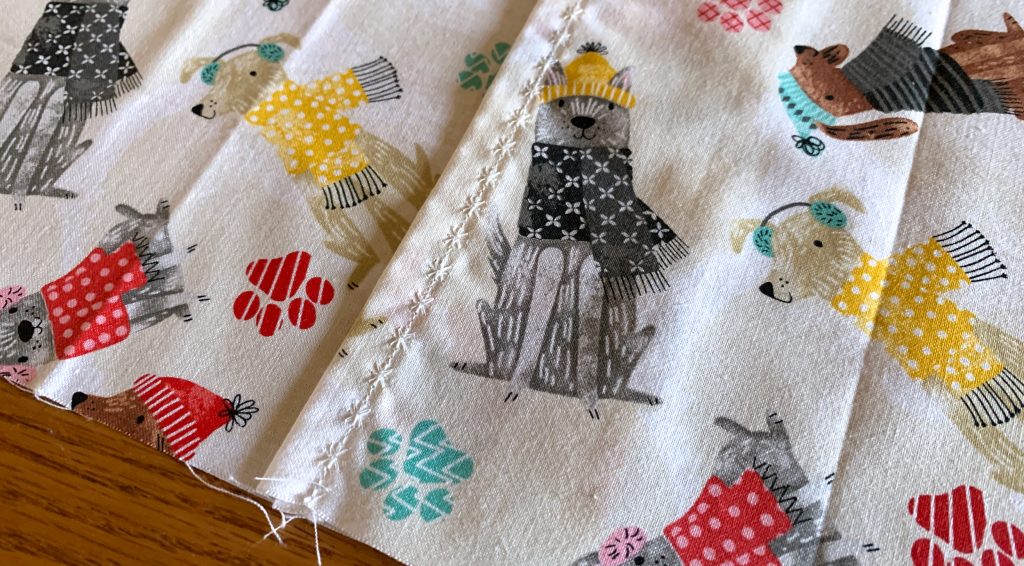
For this version, I used a super fun fat quarter set from Walmart with cute puppy dogs dressed in their winter hats and scarves. My Walmart has fat quarter bundles on the end caps, and each has five coordinating fabrics in fun seasonal themes. Each pillow only uses 2 fat quarters, so use any fabric you love. It especially works well with contrasting fabrics, the front with a larger pattern and the back with a smaller pattern.
Cut out the fabric using the instructions from the tutorial. Since the fat quarter is a little short for the lengths of each back fabric, just decrease the hems to only 1/2 to 3/4 inch so they still overlap in the final pillow. Then select a decorative stitch run along the hems. For this pillow, I used a snowflake looking stitch to add even more whimsy.
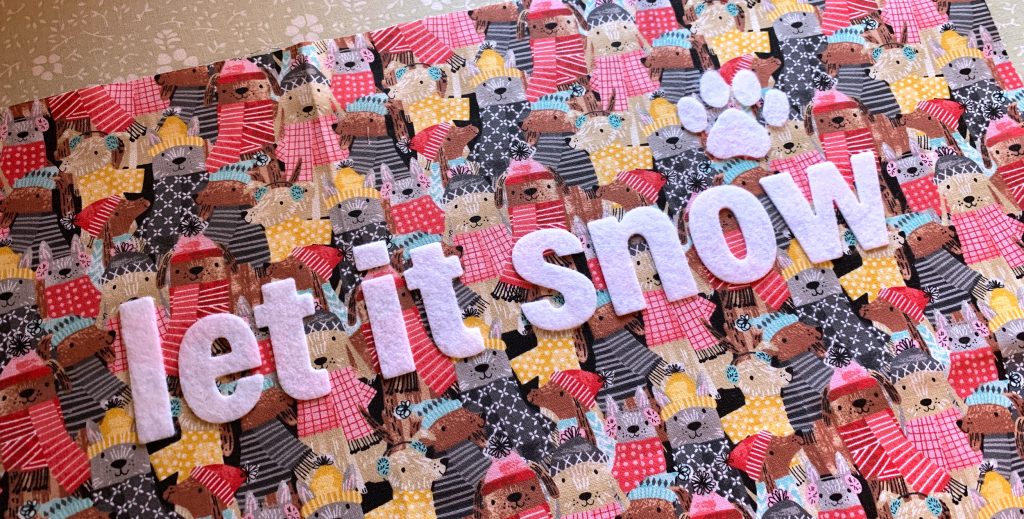
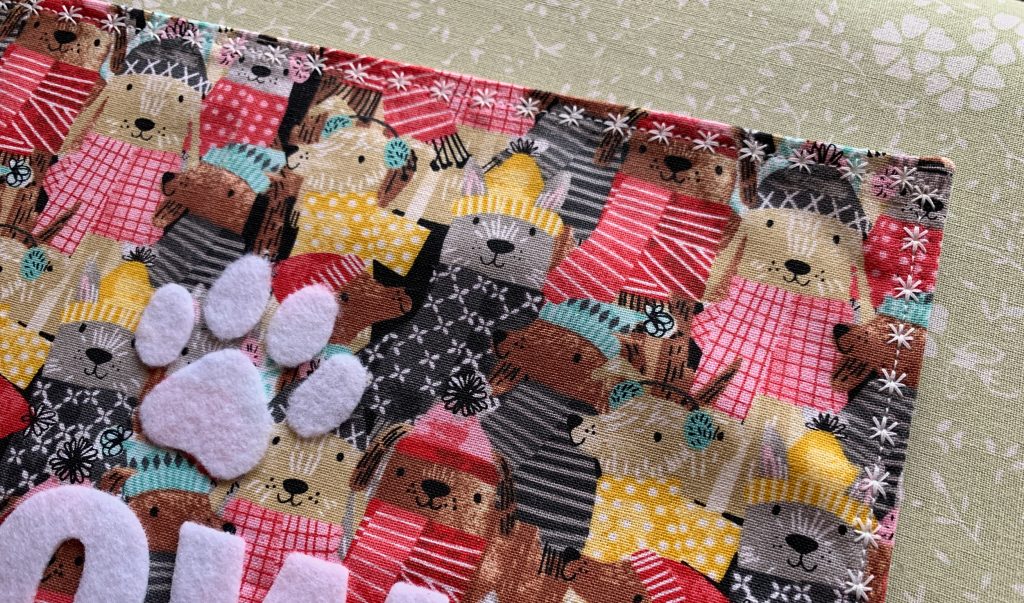
On the front, I added personalization by fusing felt letters to spell out “Let it Snow” and a little puppy paw print. To prepare the felt, iron on a fusible webbing such as Pellon Wonder Under or Heat ‘n’ Bond to the back first, then cut out the letters or shapes you want to add. For my letters, I used Crafter’s Companion Alphabet Applique Dies in my Gemini die cutting machine. Another option is to print out the letters you want and trace backwards on the backing paper of the webbing, then cut out – that’s how I created the puppy paw shape.
It’s so fun to iron on the felt – it’s like magic how it adheres to the fabric so easily! (Test the iron heat level or add a light fabric over the felt to make sure you don’t melt the polyester in the felt.) The felt makes this step so easy because it doesn’t fray and there’s no need to stitch around the shapes. (A reminder that felt should be hand washed to avoid shrinking.)
Continue to follow the tutorial to sew the front and back fabrics together, but just use a simple straight stitch to sew together. Turn right sides out. This is where the tutorial ends, but I added one more decorative step to add a tiny flange (A fancy sewing term for edging!) Since the pattern is cut a little big for the pillow form, there is room to sew around the outside edge with a decorative stitch. I used the snowflake stitch, and I think it added such a cute detail to the pillow!
I hope these ideas to add a personal touch to a simple pillow inspire you to try your own. Enjoy!
Leave A Comment